
 myCSUSM


Create and Manage Quiz Questions
Why do this
You can create quiz questions directly in your course in two places: right within a quiz and in the Question Bank. If you only want to use the questions for this one specific quiz, then you can create the questions directly within the quiz. If you want to be able to use the same questions in another quiz or create a randomized quiz where the system randomly pulls a designated number for a pool of questions, then you will want use the Question Bank and organize your questions into categories. In either case, there are a variety of question types to choose from.
Overview
Create Questions Within a Quiz
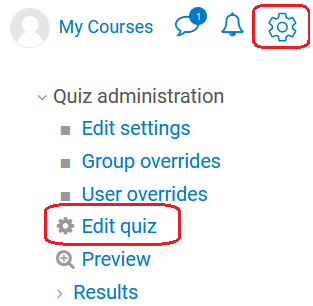
- If you just finished creating your quiz and clicked "Save and display," you should
be able to click Edit Quiz in the center of the page. If not, while in your course click on your quiz. Click
on the gear icon in the upper right to open the Quiz Administration block and select
Edit quiz.
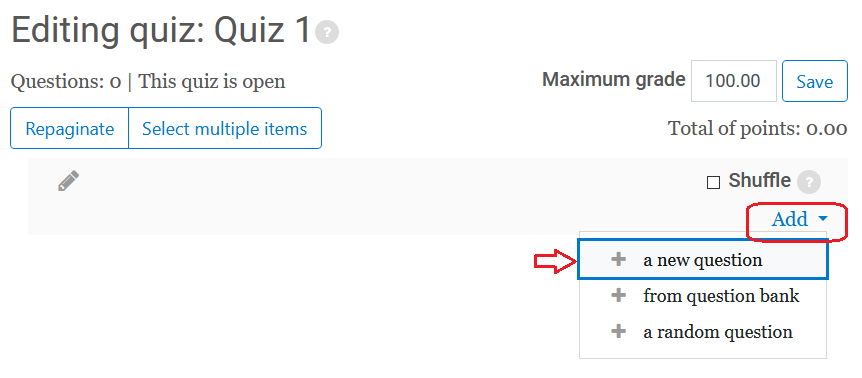
- Click the Add dropdown on the right hand side (below Shuffle), and select "a new question."
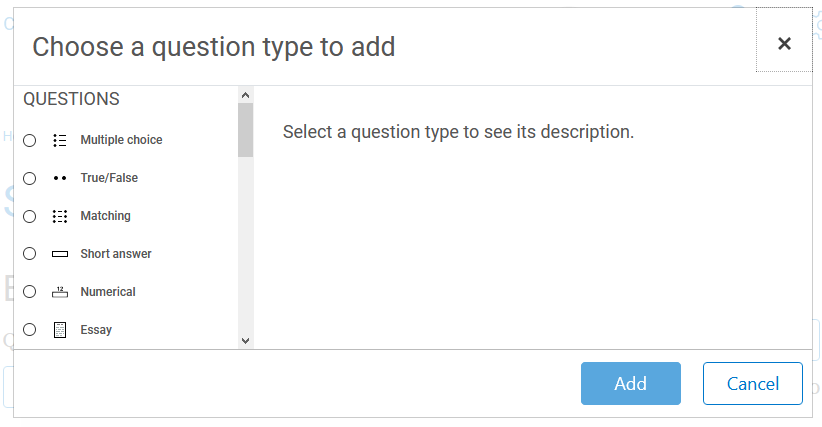
- Select the desired question type on the left. Then click Add in the lower right.
- The first section of each question are the General settings. For the majority these
are same no matter the question type. First, in Question name enter a short, descriptive name. This is displayed in list of questions and helps
you easily identify the question without having to see the full question text. Students
do not see the Question name. Make sure it is unique.
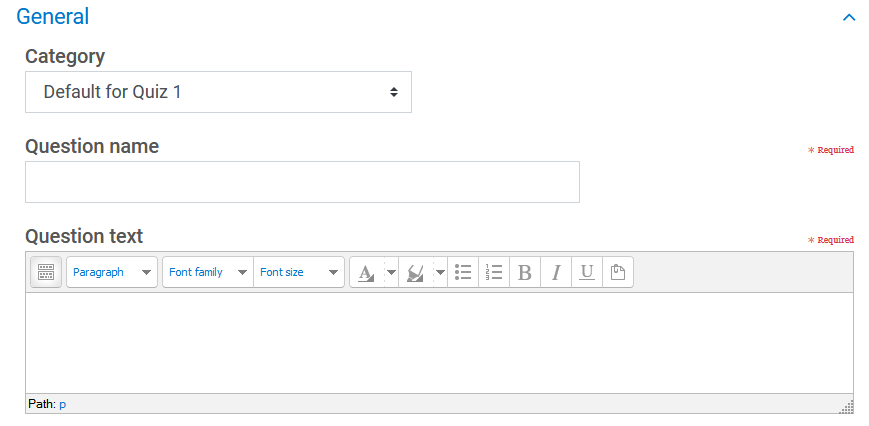
- In Question text enter your question text or instructions. Use the text editor toolbar to format text, add images or links to your question.
- Set how much this question is worth in Default Points. By default it is 1.
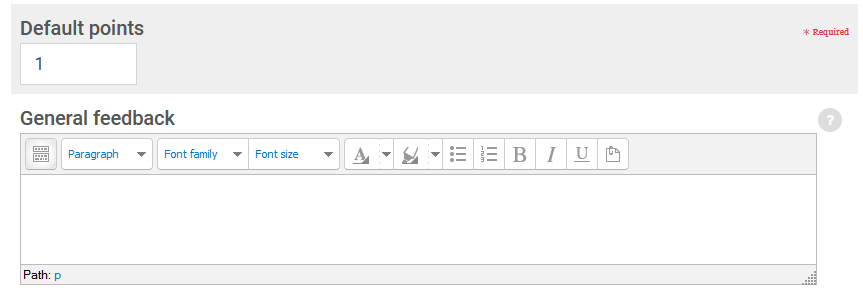
- Optional: In General feedback enter any feedback you want to provide to the students about this question. General feedback will only be shown to students if you select General Feedback in the Review Options section of the quiz settings.
- Continue filling out the question type specific fields:
- Multiple Choice
- For the setting “One or multiple answers?” leave at “One answer only.” If you want to create a multi-select question we recommend using the question type OU Multiple Response instead.
- Check the box for “Shuffle the choices” if you would like the answer choices shuffled. You will want to leave this box unchecked if you have answer choices such as "All of the above," "None of the above," "A & B," etc.
- Select how you want the answer choices numbered. By default it is a., b., c.,…
- Choice 1: enter the first answer choice.
- Grade: If this is the correct answer, set to 100%. This means students will get 100% of the possible points for this question if they select this answer. If this is not the correct answer, leave at None.
- Optional: In Feedback enter any feedback you want to provide to the students who select this answer choice. This specific feedback will only be shown to students if you select Specific Feedback in the Review Options section of the quiz settings.
- Repeat steps 4-6 for each desired answer choice. By default 5 answer choice blanks are provided, but you only have to use 2. If you want more answer choices click “Blanks for 3 more choices” at the bottom.
- For regular quizzes/exams you can skip Combined feedback and Multiple tries sections.
- True/False
- Select whether the correct answer is True or False.
- Optional: enter any Feedback for the response ‘True.’ This specific feedback will only be shown to students if you select Specific Feedback in the Review Options section of the quiz settings.
- Optional: enter any Feedback for the response ‘False.’ This specific feedback will only be shown to students if you select Specific Feedback in the Review Options section of the quiz settings.
- EssayPlease see our help guide on how to Create an Essay Question.
- Other question types
For more information on other question types and how to create them, please see Moodle's Question Types guide.
- Multiple Choice
- When finished scroll to the bottom and click Save changes.
- Repeat steps 2-9 for each additional question.
Manage your Quiz Questions on the Edit Quiz Page
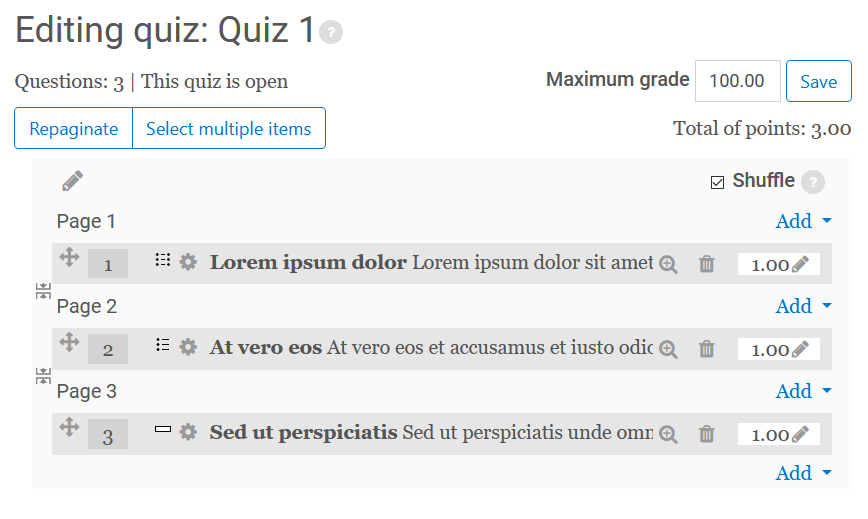
- To set the overall quiz grade: in the upper right, enter the overall grade for the quiz in the Maximum Grade box. Once changed click Save.
- To shuffle the order of the questions: in the upper right, check the box for Shuffle.
- To set the number of questions per page: in the upper left, click the Repaginate button. We recommend no more than 5 questions per page.
- To move a question: click on the arrows to the left of the question and drag to the desired location.
- To edit a question: click the gear icon or the question title.
- To preview a question: click the magnifying glass icon to right of a question.
- To change the point value of a question: click the pencil icon to the right of a question to and enter the new point value. When finished hit the Enter key.
- To delete a question: click the trashcan icon to the right of a question.
- To delete multiple questions: in the upper left, click the "Select multiple items" button. Select the question you wish to delete, then click the "Delete selected" button in the upper left.
Create and Organize Questions within the Question Bank
Create Categories
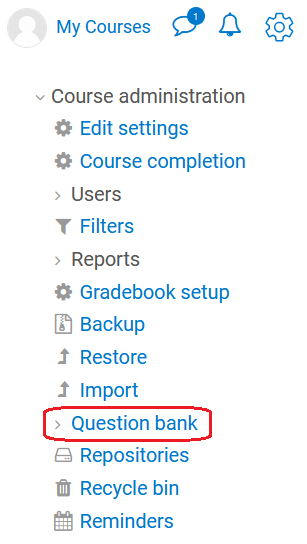
- From your course homepage, click on the gear icon in the upper right to open the Course
Administration block, then click Question Bank.
- Click on the Categories tab at the top.

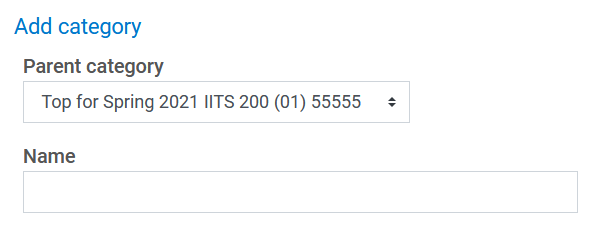
- Scroll down to the Add category section.
- Choose the parent category if you want this new category to be a subcategory of another.
If not, keep the default "Top for [your course name]." Enter a Name for the new category or subcategory you are creating.
- Click the Add category button at the bottom.

- Repeat steps 4-6 for each category you want to create. In the Edit Categories section
at the top of the page you can edit category names (click the gear icon for the category),
delete a category (click the trashcan icon for the category), or move a category (arrows
up/down/right).

Add Questions to a Category
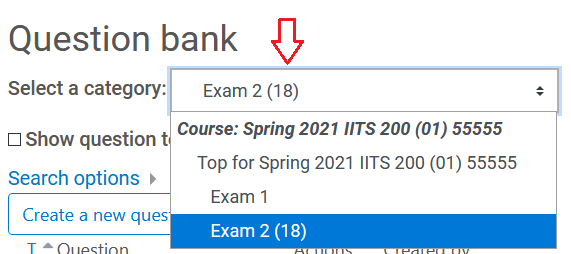
- Click on the Questions tab.

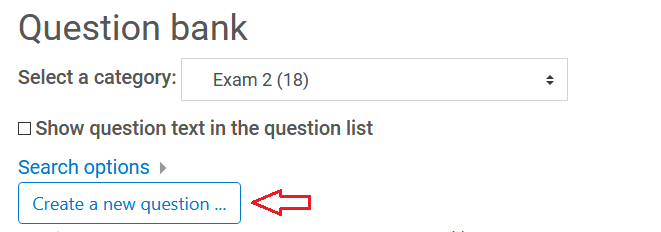
- Use the dropdown to Select a Category to add the question to.
- Click "Create a new question."
- Select the desired question type on the left. Then click Add in the lower right.
- For more information on creating questions, see steps 4-9 under Create Questions within a Quiz above. Once saved, your question will be added to the category.
Note: To add questions from the Question Bank to your quiz, see the guide: Adding Quiz Questions from the Question Bank.
Manage Questions
Click the Edit dropdown to the right of the question name and then...
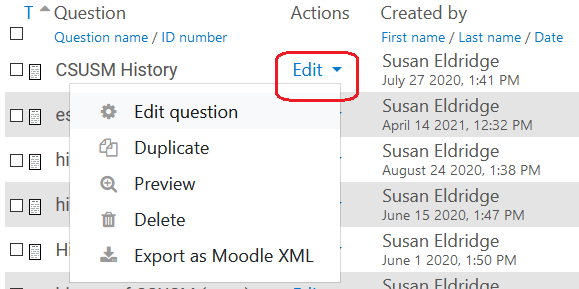
- To edit a question: click Edit question.
- To copy a question: click Duplicate.
- To preview a question: click Preview.
- To delete a question: click Delete.
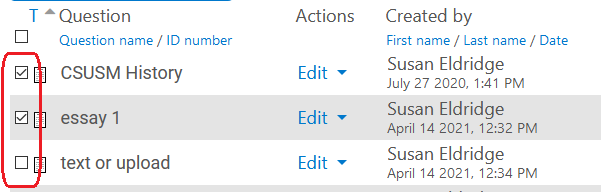
Move Questions between Categories
- Check the box to the left of the questions you want to move.
- Scroll to the bottom and under With Selected use the dropdown to select the category you want to move the questions to.

- Click the Move to button. The questions will then be moved to the selected category.

Note: To add questions from the Question Bank to your quiz, see the guide: Adding Quiz Questions from the Question Bank.