myCSUSM


Profile Guide
Campus profiles are available to active CSUSM faculty and staff account owners. All addresses use your campus username (example: jrees for my username used throughout this guide):
Campus Profile Example
https://www.csusm.edu/profiles/index.html?u=jrees
(your address will be a blank page if you don't have one setup yet)
Support
The Web & Digital Content Strategies team is always available to help at web@csusm.edu
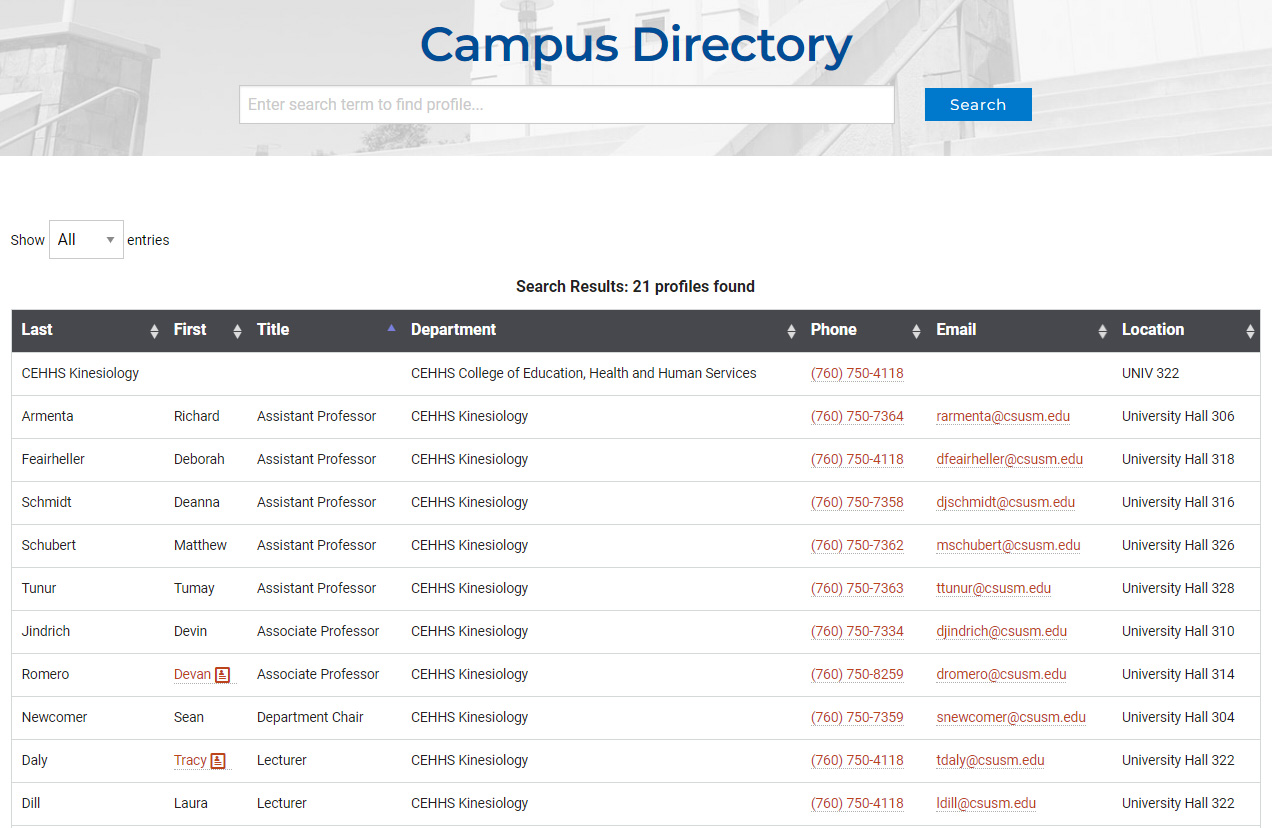
Profile Page and Directory Search
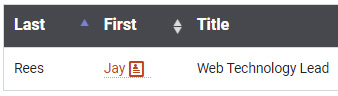
A search in the directory will indicate if a person has an enhanced profile page available by linking their
first name and a card icon. Otherwise, the default directory information is shown
in a sortable table view.
Manage Your Profile
All campus users can manage their own profile page (The Web & Digital Content Strategies Team can also add additional editors to a profile upon request).
Authenticate to CSUSM
In order to update your profile (or another's profile if you are an added editor for
their page) you first need to authenticate to CSUSM using the "Log in" button in the top-right of the webpage.

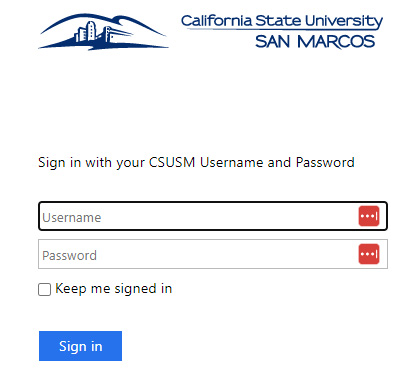
Sometimes you are asked to log in with your username and password on the standard campus Single-Sign-On page like the one shown here. However, if you are already logged into a computer on-campus or you previously logged in, clicking the "Log in" button may just redirect you back to the page by skipping this username/password step.
This example shows "JR" for "Jay Rees" -- you can expect to see different initials for your name and successful
authentication. If it remains "Log in" then some other problem occured and you may need to receive account support beyond this guide.

Accessing the Update Form
Creating a New Profile Page
Access the Campus Directory Search and then Authenticate to CSUSM (instructions above). Search for your username and it will show results in a table format. When authenticated, there is an additional column that shows to the far right with the header "Edit". Your record should show an edit pencil icon that links to your "Manage Your Profile" page pre-filled with directory information. Add anything else you like and use the Update button at the bottom. Further instructions are discussed below in the "Editing an Existing Profile Page" section.

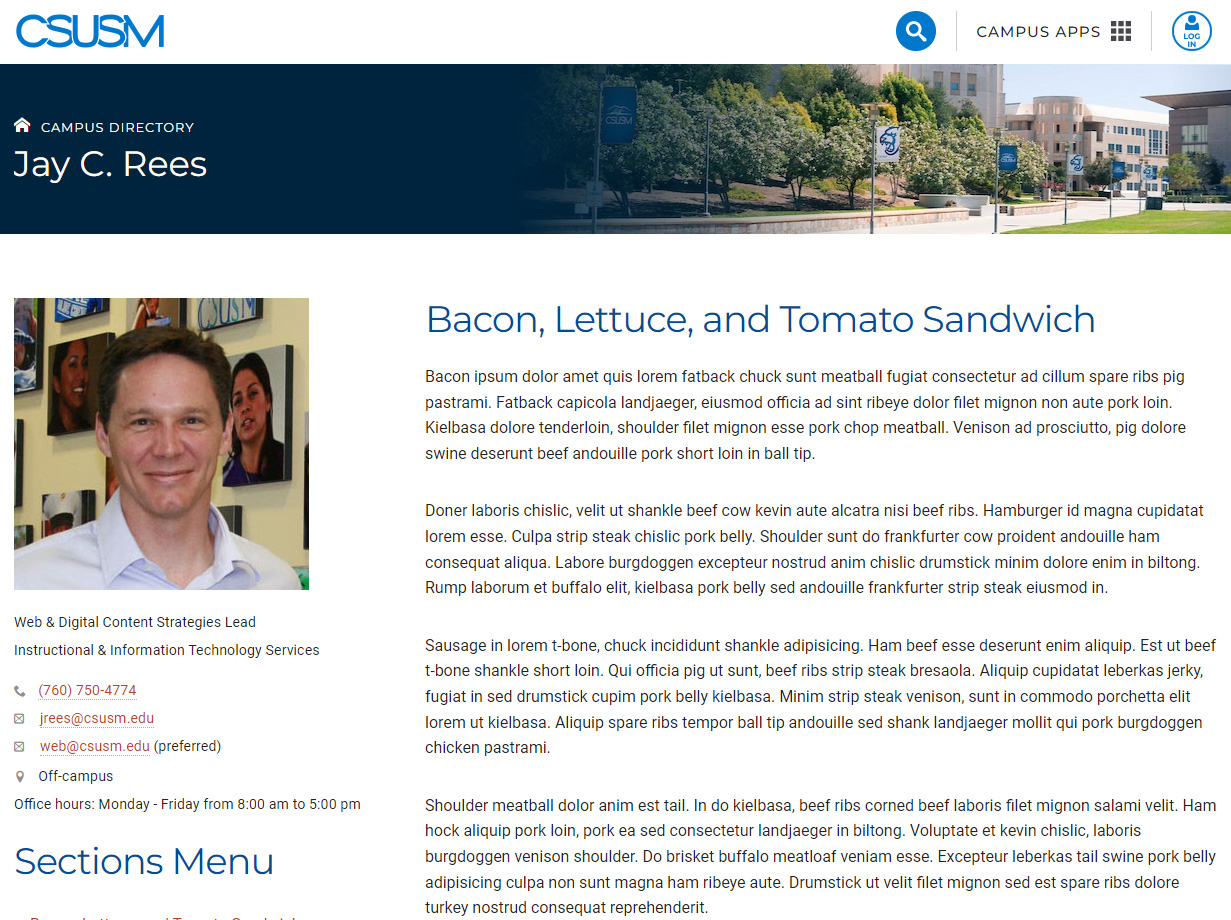
Editing an Existing Profile Page
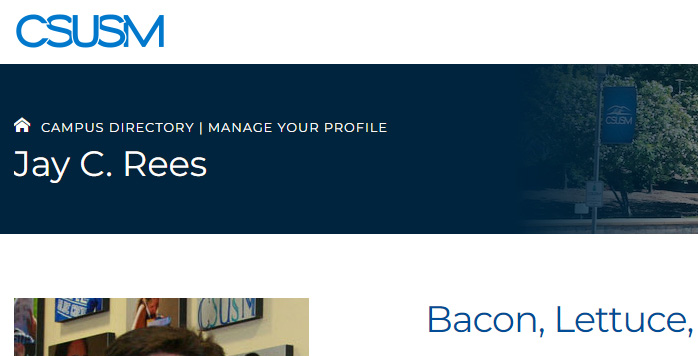
After authenticating, you should be able to see a "Manage Your Profile" link at the top of your profile page, above your name.
The "Manage Your Profile" link will take you to an online form that controls all areas of the profile page.
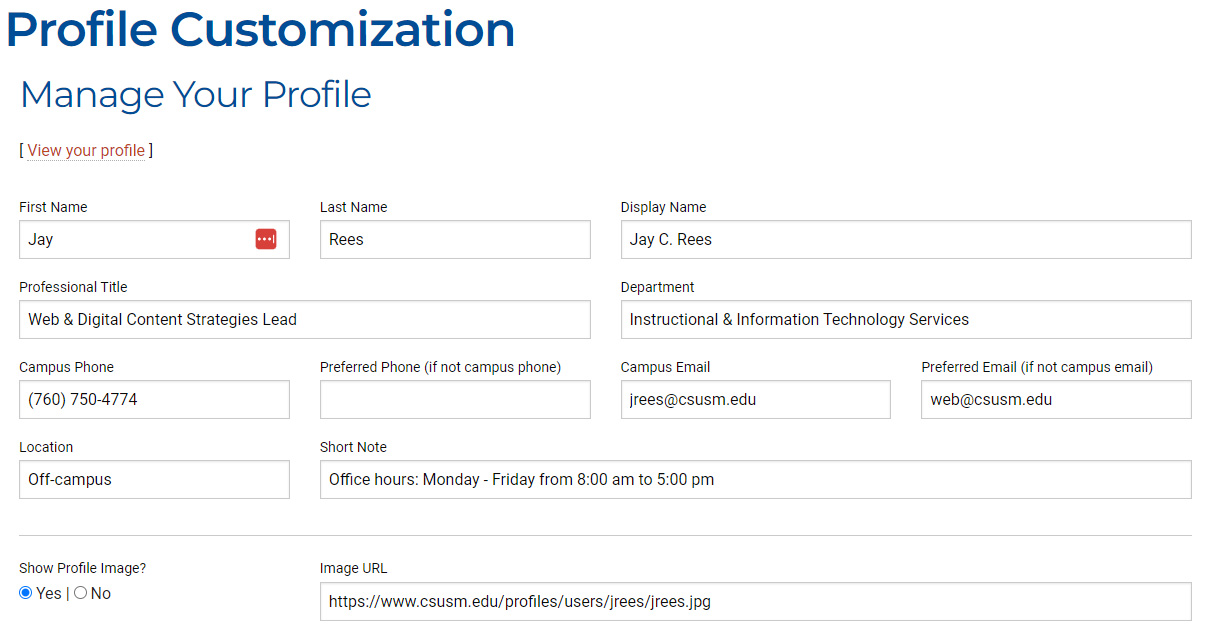
The top section pulls content from our campus directory by default to preset the form,
but you can override any of these fields to change the display on your profile page
(this does NOT update the actual campus directory -- contact telephone services if
you need the official record updated).
Manage Your Profile Form
Directory and Profile (Left-hand Content)
The "Display Name" is what shows in the top blue banner on your page. This is where you could put in a prefix or suffix that applies like "Dr. Jane Doe" or "Jane Doe Ph.D." -- Please keep display names professional.
The "Image URL" field can point to any full web address for an image if you have a published image. This may be an image already available in your department area, an external website, etc.

If you need a place to upload/publish an image, you can use a folder at /profiles/users/yourusername -- contact web@csusm.edu to have this space created for you. If you don't have an image, or don't wish to show it, you can use the radio option to the left "Show Profile Image" to turn it off without removing the "Image URL" content.
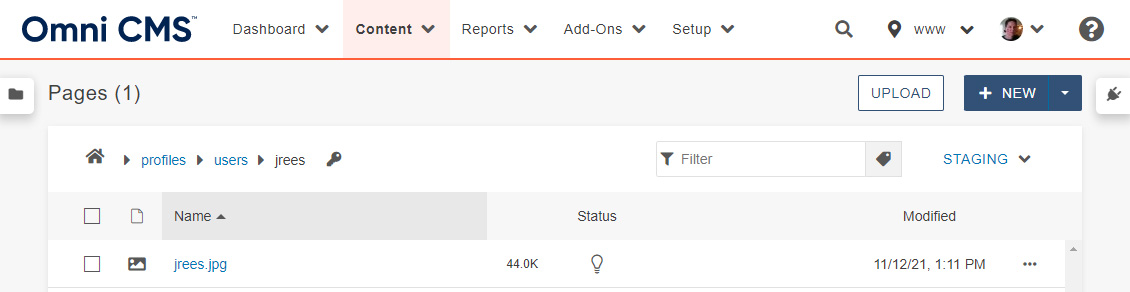
The "access your space" link will take you to an upload option within OmniCMS (requires a login) and only works if you have one setup for you first ("Request a new space" will email the team). Once you have a space, you can add files and publish them by using our file management guide for assistance. Here is an example space that has the file used in the screenshots above.
The location of any document you put into your upload space will be at:
/users/yourusername/yourfilehere
So in my case it would be something like: /users/jrees/curriculumvita.pdf
Or you can paste in the full address and it will auto-convert to that kind of path
so:
https://www.csusm.edu/profiles/users/jrees/curriculumvita.pdf
will work because it will recognize the first part of the address and resolve your
link.
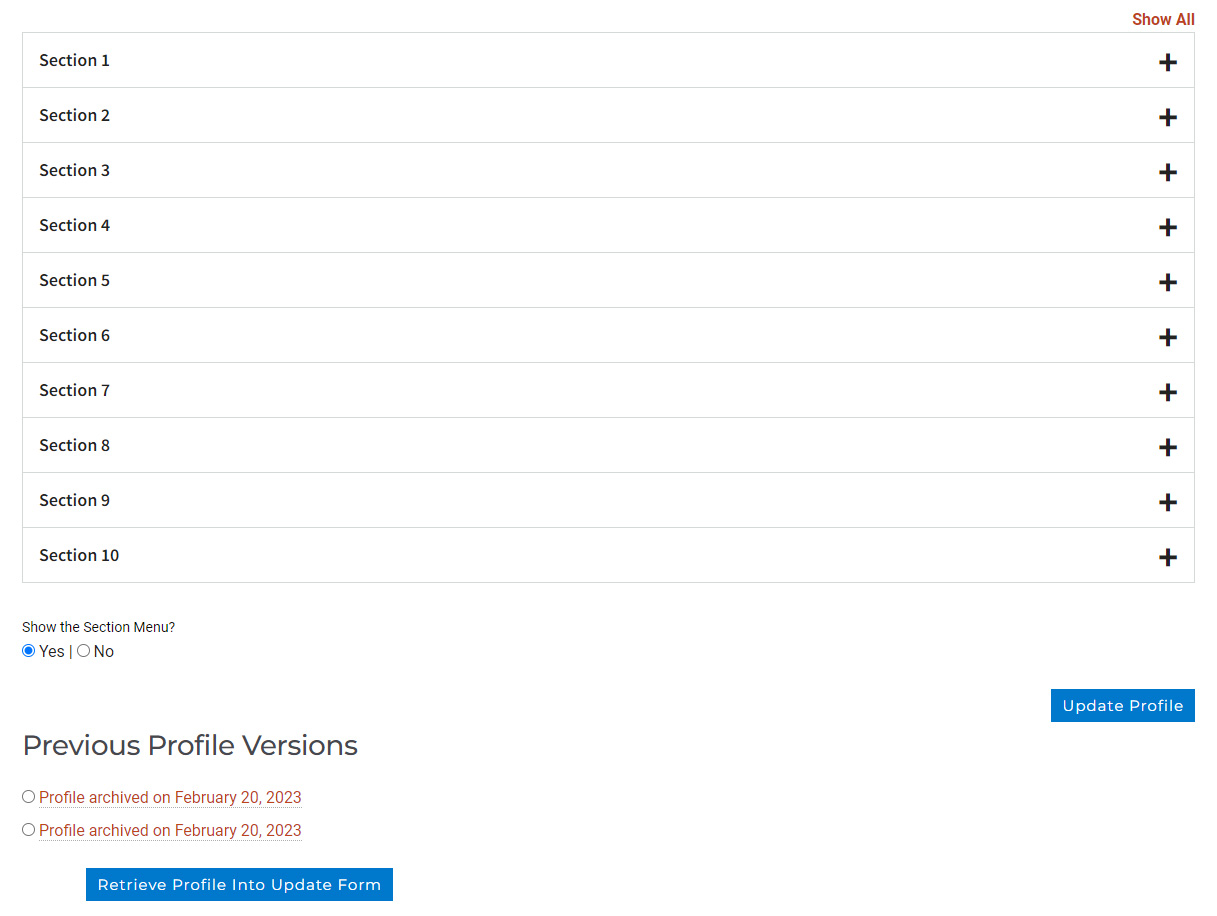
Content Sections
Your profile page can have up to ten sections of content. Each section has a Section
Heading that automatically gets a heading 2 (<h2>) and is used in the Section Menu
(left-hand side - optional) as a jump-to anchor point.
The "Section 1 Header" here will show up in the left-hand menu as a link (if the overall section menu is enabled - see instructions below) as well as a heading level 2 above the content (thus you don't need to repeat the heading inside of the Section 1 Content area). Formatting of this heading is handled by the template and our campus styles, you cannot and should not try to override it.
The left-hand "Show Section 1" radio option lets you temporarily show/hide content without having to delete it. The default is to not show content until you are ready and you select "Yes" to show the section.
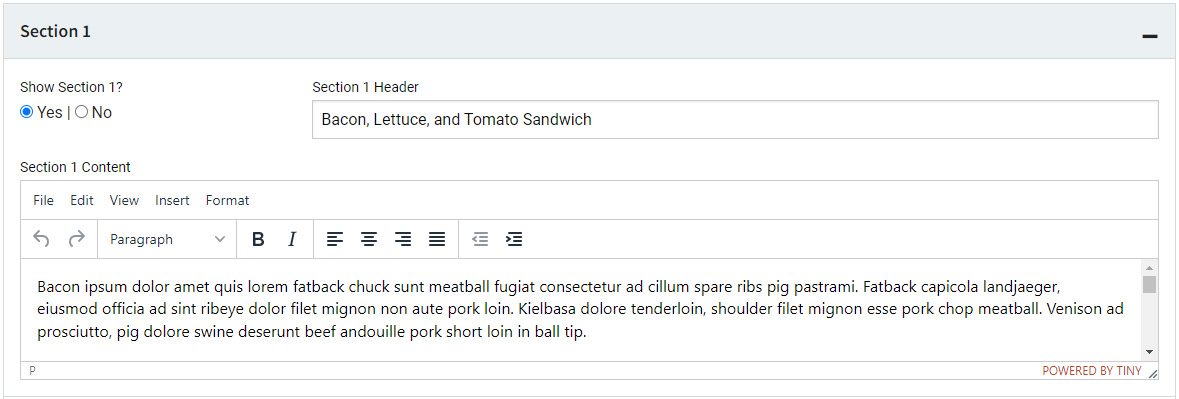
Content Formatting
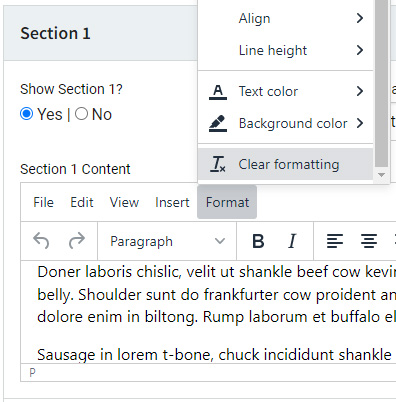
You can add content directly to the sections by using the editor, or you can copy and paste in web content to the section. However, pasted in content will likely have inconsistent formatting of text with bloated back-end code. It is advisable to select all (CTRL+A) within the area and then use the "Format > Clear formatting" option to remove the back-end code. Then, you can reapply any needed bolding, etc.
Less Is More
Please refrain from applying text color, background color, etc. to design pages. Professional pages maintain consistent design across the campus using base styles already set for content. Most formatting should be kept to the bold or italics (emphasis) options in addition to setting appropriate headings for sub-sections (remember the heading 2 is already above each of these sections, so the next level should be a heading 3).
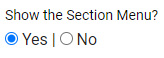
Sections Menu
On the left-hand side of the profile page, under the image and directory information, is an optional section menu that uses anchor (jump-to) links to the sections in the right-hand content area. There are also links under each section to return to this sections menu (even if turned off) to help navigate back up the page. Note: Section 1 does not need/use this return link since it is already at the top of the page.
Update and Previous Versions
After making changes to your profile (even on the first update when using the default
directory content), you will update the page with the form button "Update Profile".
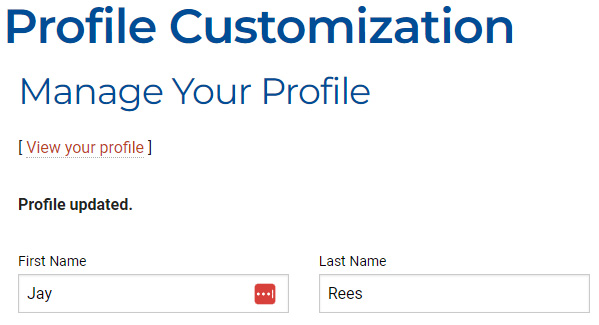
After updating your profile, you should see a small status message at the top of the
form that reads "Profile updated.". There is a link available to "View your profile" just above it that will launch your profile page in another tab so you can view
the results.
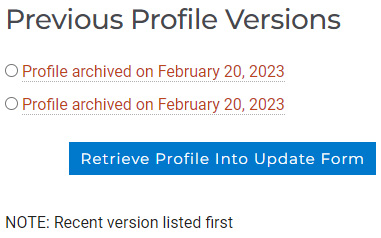
Previous versions of your page (up to two max) are available to recovery with the
option at the bottom of the form. This option loads the content into the form so you
can then edit it and use the "Update Profile" button to make the changes live.