
 myCSUSM


Creating High Quality Scans
A scanned document is often times necessary for an instructor to use in their course. Not only is it a convenient way to provide course readings, it can help students save money as opposed to purchasing a textbook. However, a scanned document requires certain steps to produce a high quality and accessible format for students using assistive technology. Poorly scanned documents can negatively impact all of your student’s learning experience, not just users with assistive technology!
What does High Quality Mean/What is a High Quality Scan?
A scan that is of high quality should be easy for students of all abilities to read. This includes students with low vision and those who rely on text to speech assistive technologies. Adobe Acrobat DC is the preferred program to use to create high quality scans.
What to Avoid
In order to create a high quality scan, please avoid the following:
- Low resolution/Blurry text.
- Shadows from the book’s spine.
- Poor contrast.
- Handwritten notes.
- Crooked pages.
- Uncropped pages.
- Pages that are rotated incorrectly.
- Text that is cut off.
Low Quality Scan Examples
- Bad Scan Example 1: Crooked Pages
This scanned document is crooked. It may be hard for students to read and for text to speech programs to recognize.
- Bad Scan Example 2: Shadows on pages
Scanned document contains shadows from the book’s spine. Text to speech technologies have a hard time recognizing text that is in a shadow.
- Bad Scan Example 3: Highlighted text, hand writing, wrong page orientation
Scanned page contains highlighting, hard writing, has blurry text, and is rotated sideways. Documents such as these are difficult for student of all abilities to read and learn from. 
High Quality Scan Examples
- Good Scan Example
This scanned document has clear/legible text, is free of shadows and highlighting, and has correct alignment.
How to Make a High Quality Scan
- Make sure there isn't a copy already available. Check if the document you would like to scan is available on our University Library Website through ProQuest. Our library has access to many different books and articles of
high quality that will only need standard accessibility checks.
If the book/article you are looking for is unavailable, proceed to step 2.Consider the quality of the document you plan on scanning. If the document contains highlighting or unrecognizable text, consider finding another copy or choosing a different document. - Check your scanner setting before you begin scanning. The standard setting for a scanner is 300 DPI (dots per inch), but 400 may be necessary
to get clear and recognizable text. Black and white is the recommended color setting,
but full color may be used if necessary to the document.
- Make sure the document or book is aligned with the scanner to prevent crooked, unaligned
pages. In order to limit the amount of shadows in a scan from a book spine, press down on
the spine as flat as possible for every scan. Books should also be scanned upright
to prevent the need to rotate the pages.*
If you are unable to get high quality scans, take the document/book to the third floor of the library and they can make high quality scans for you. - Crop your scanned paged pages. When a book is scanned, two pages make up one page of a PDF. It is much more accessible
to crop the pages of a book into their own separate pages.
- Double Page Scan Example
Example A: Scan with two page's of information on one page in PDF.
- Cropped, Single Page Scan Example
Example B: a cropped page with a single page's content.
BRISS is a free to download application that is perfect for cropping scans into separate pages.
- Double Page Scan Example
- Prep the page's text content. Last steps include OCRing (Optical Character Recognition) the document using the “Enhance Scans” or “Scan & OCR” tools (Recognize Text, then In This File then All Pages), deleting any shadows with the “Edit” tool, and following the standard accessibility checks.
How to Fix a Low Quality Scan With Ally
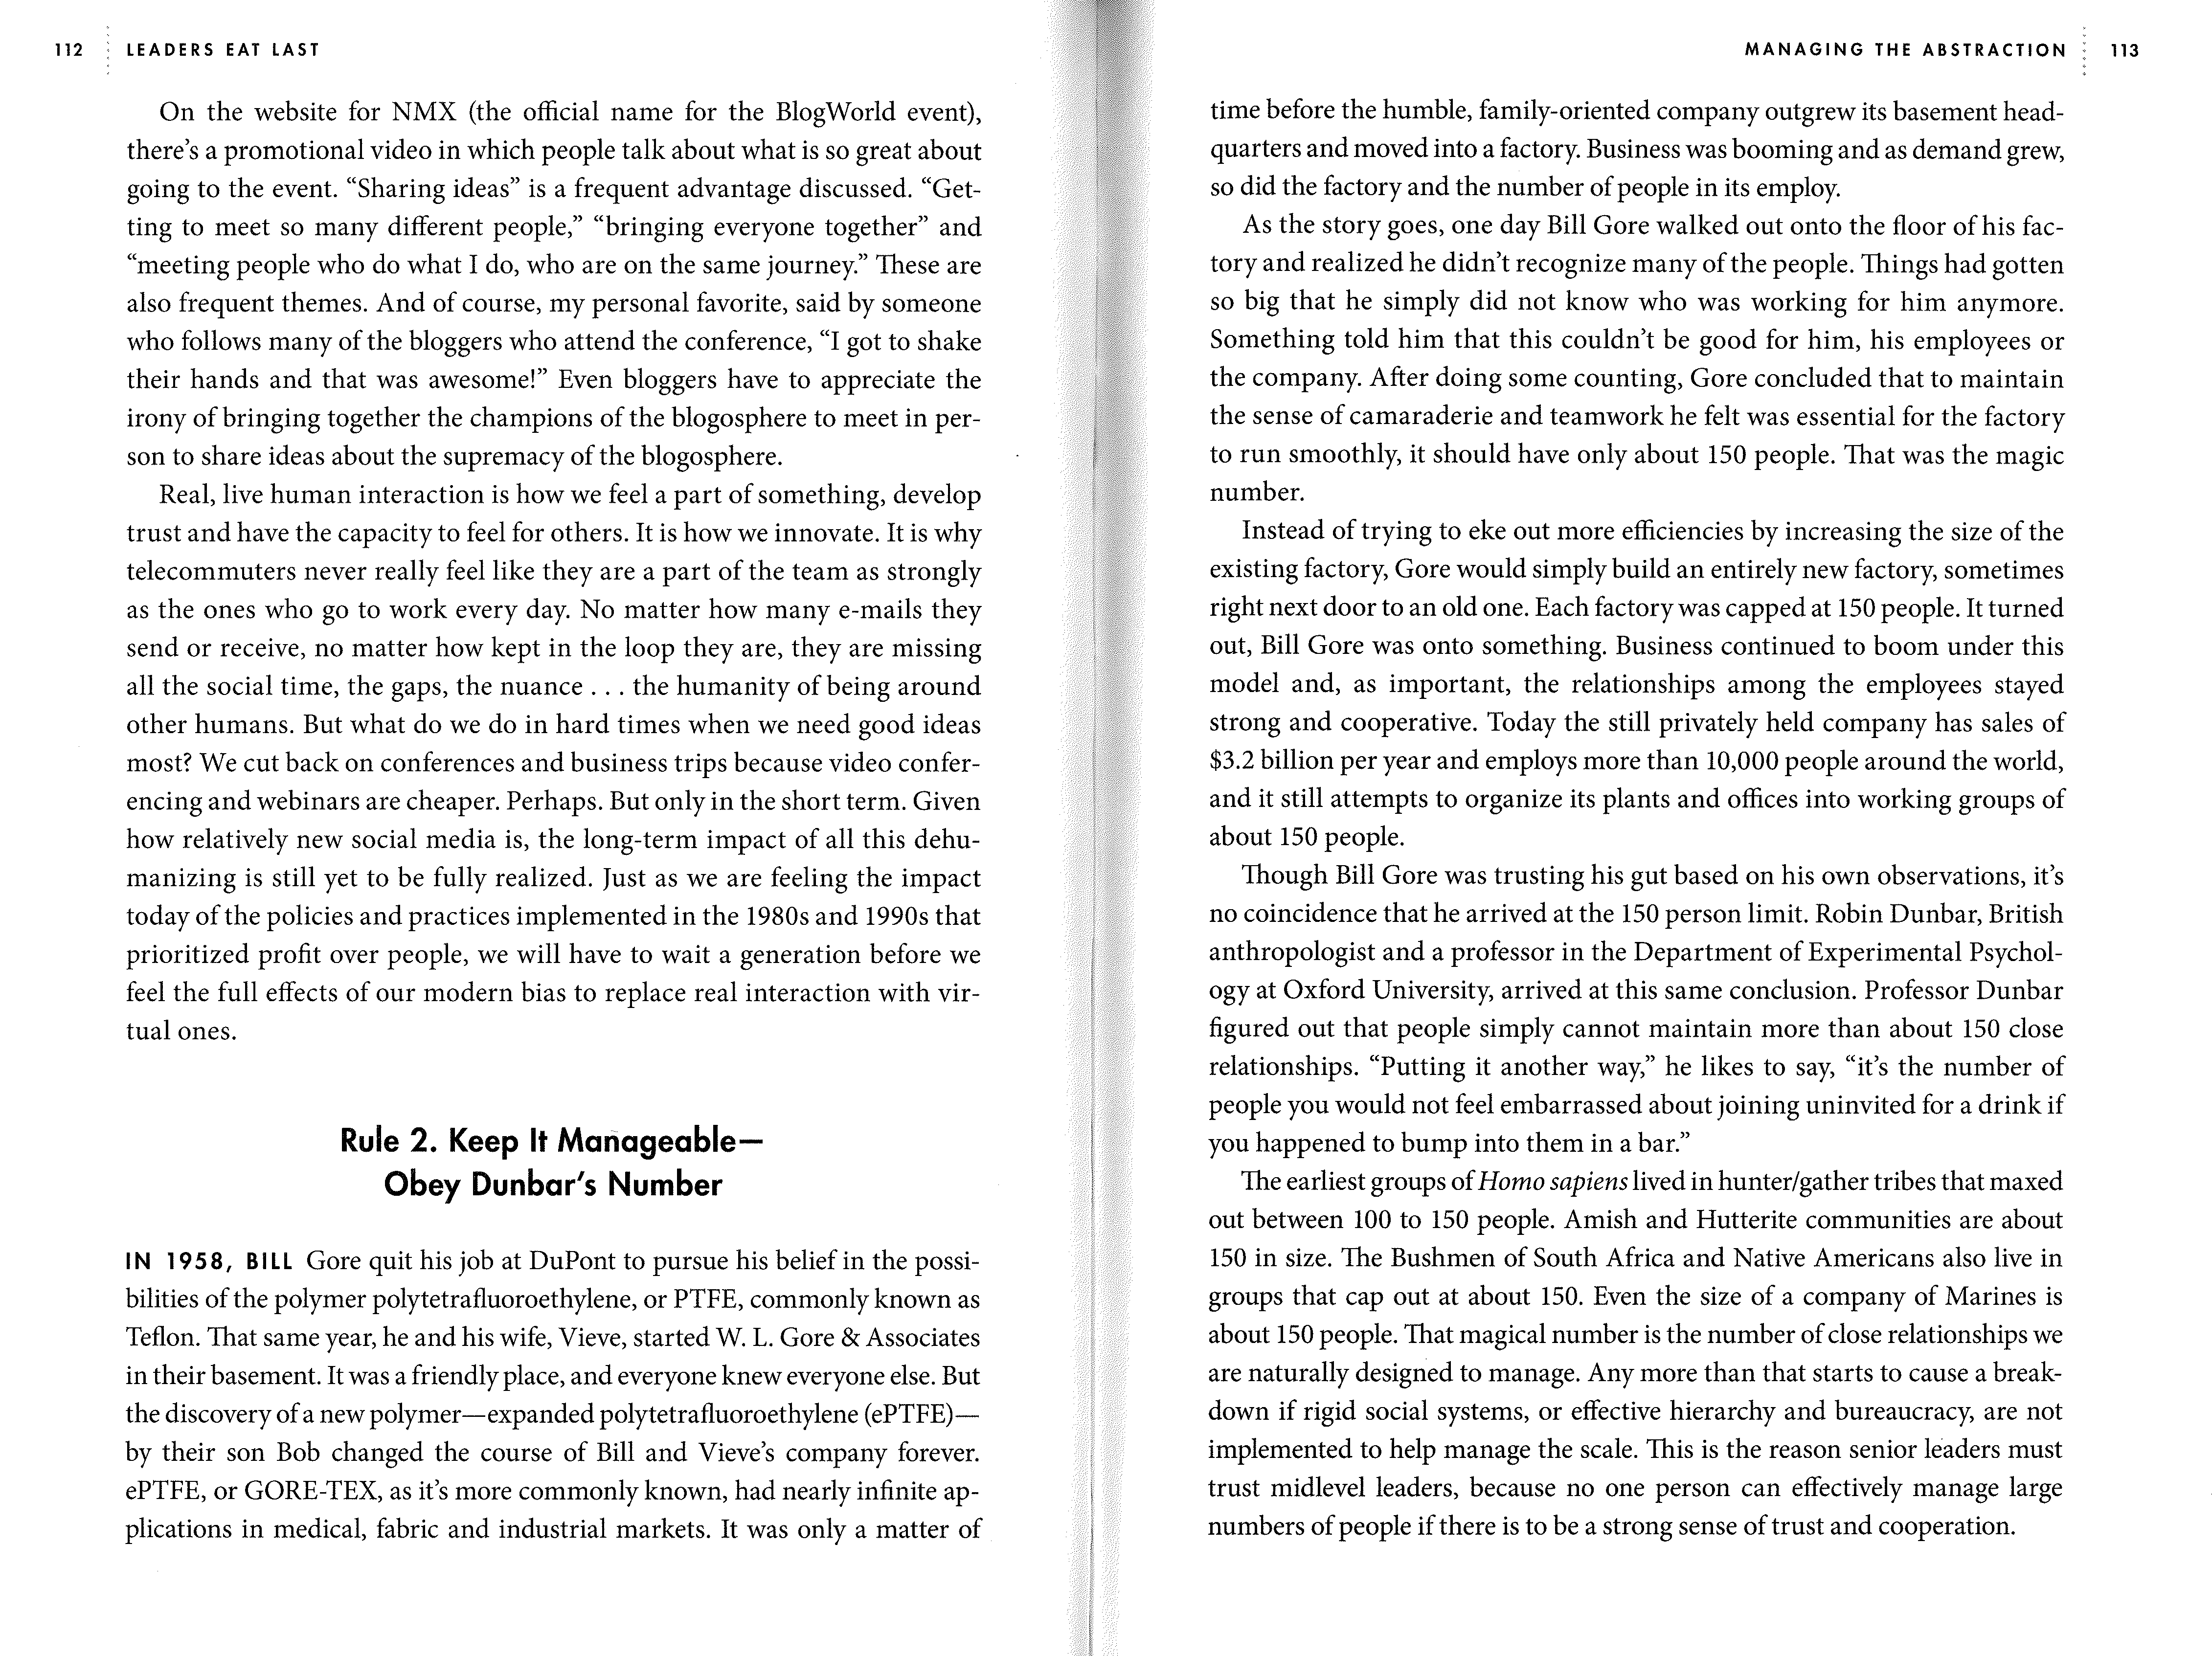
Scans can be very difficult to edit to increase accessibility and usability. Luckily, scans can be downloaded in a more accessible format with Ally. Simply upload a PDF scan that is not OCRed into Cougar Courses. Then click on the Alternative Format button and download the OCRed PDF format.
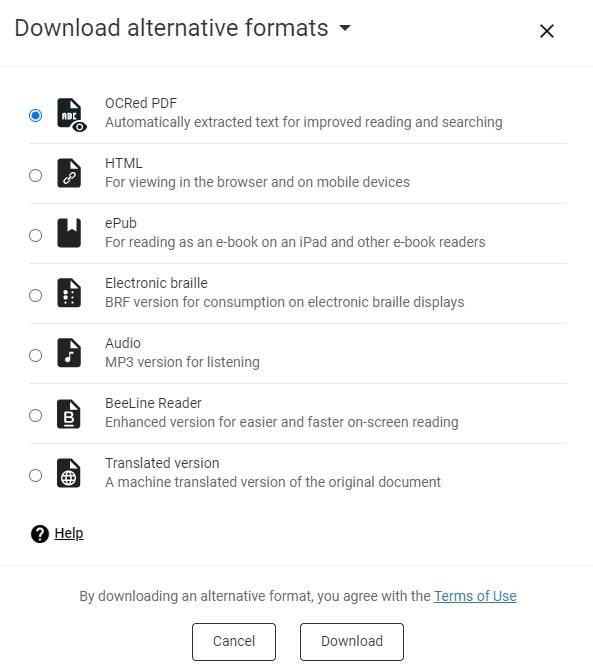
- Example of Ally OCRed PDF Download
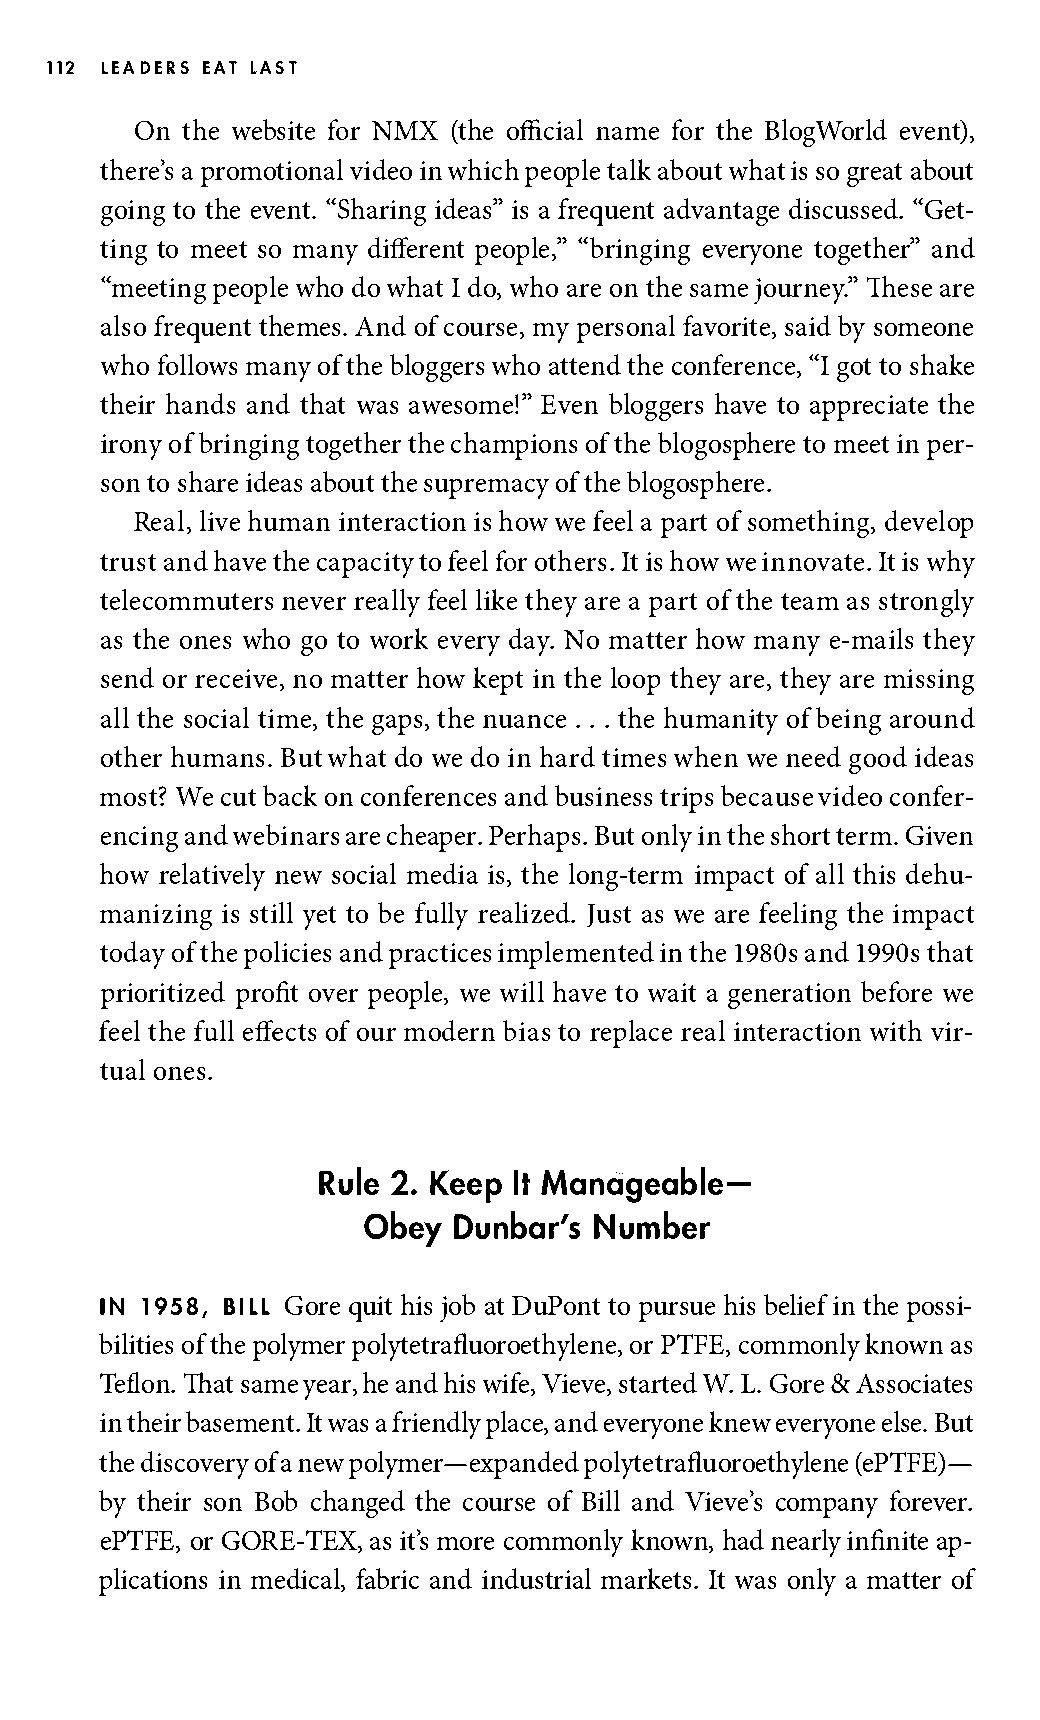
Ally's OCR download can turn your PDF scan from this...
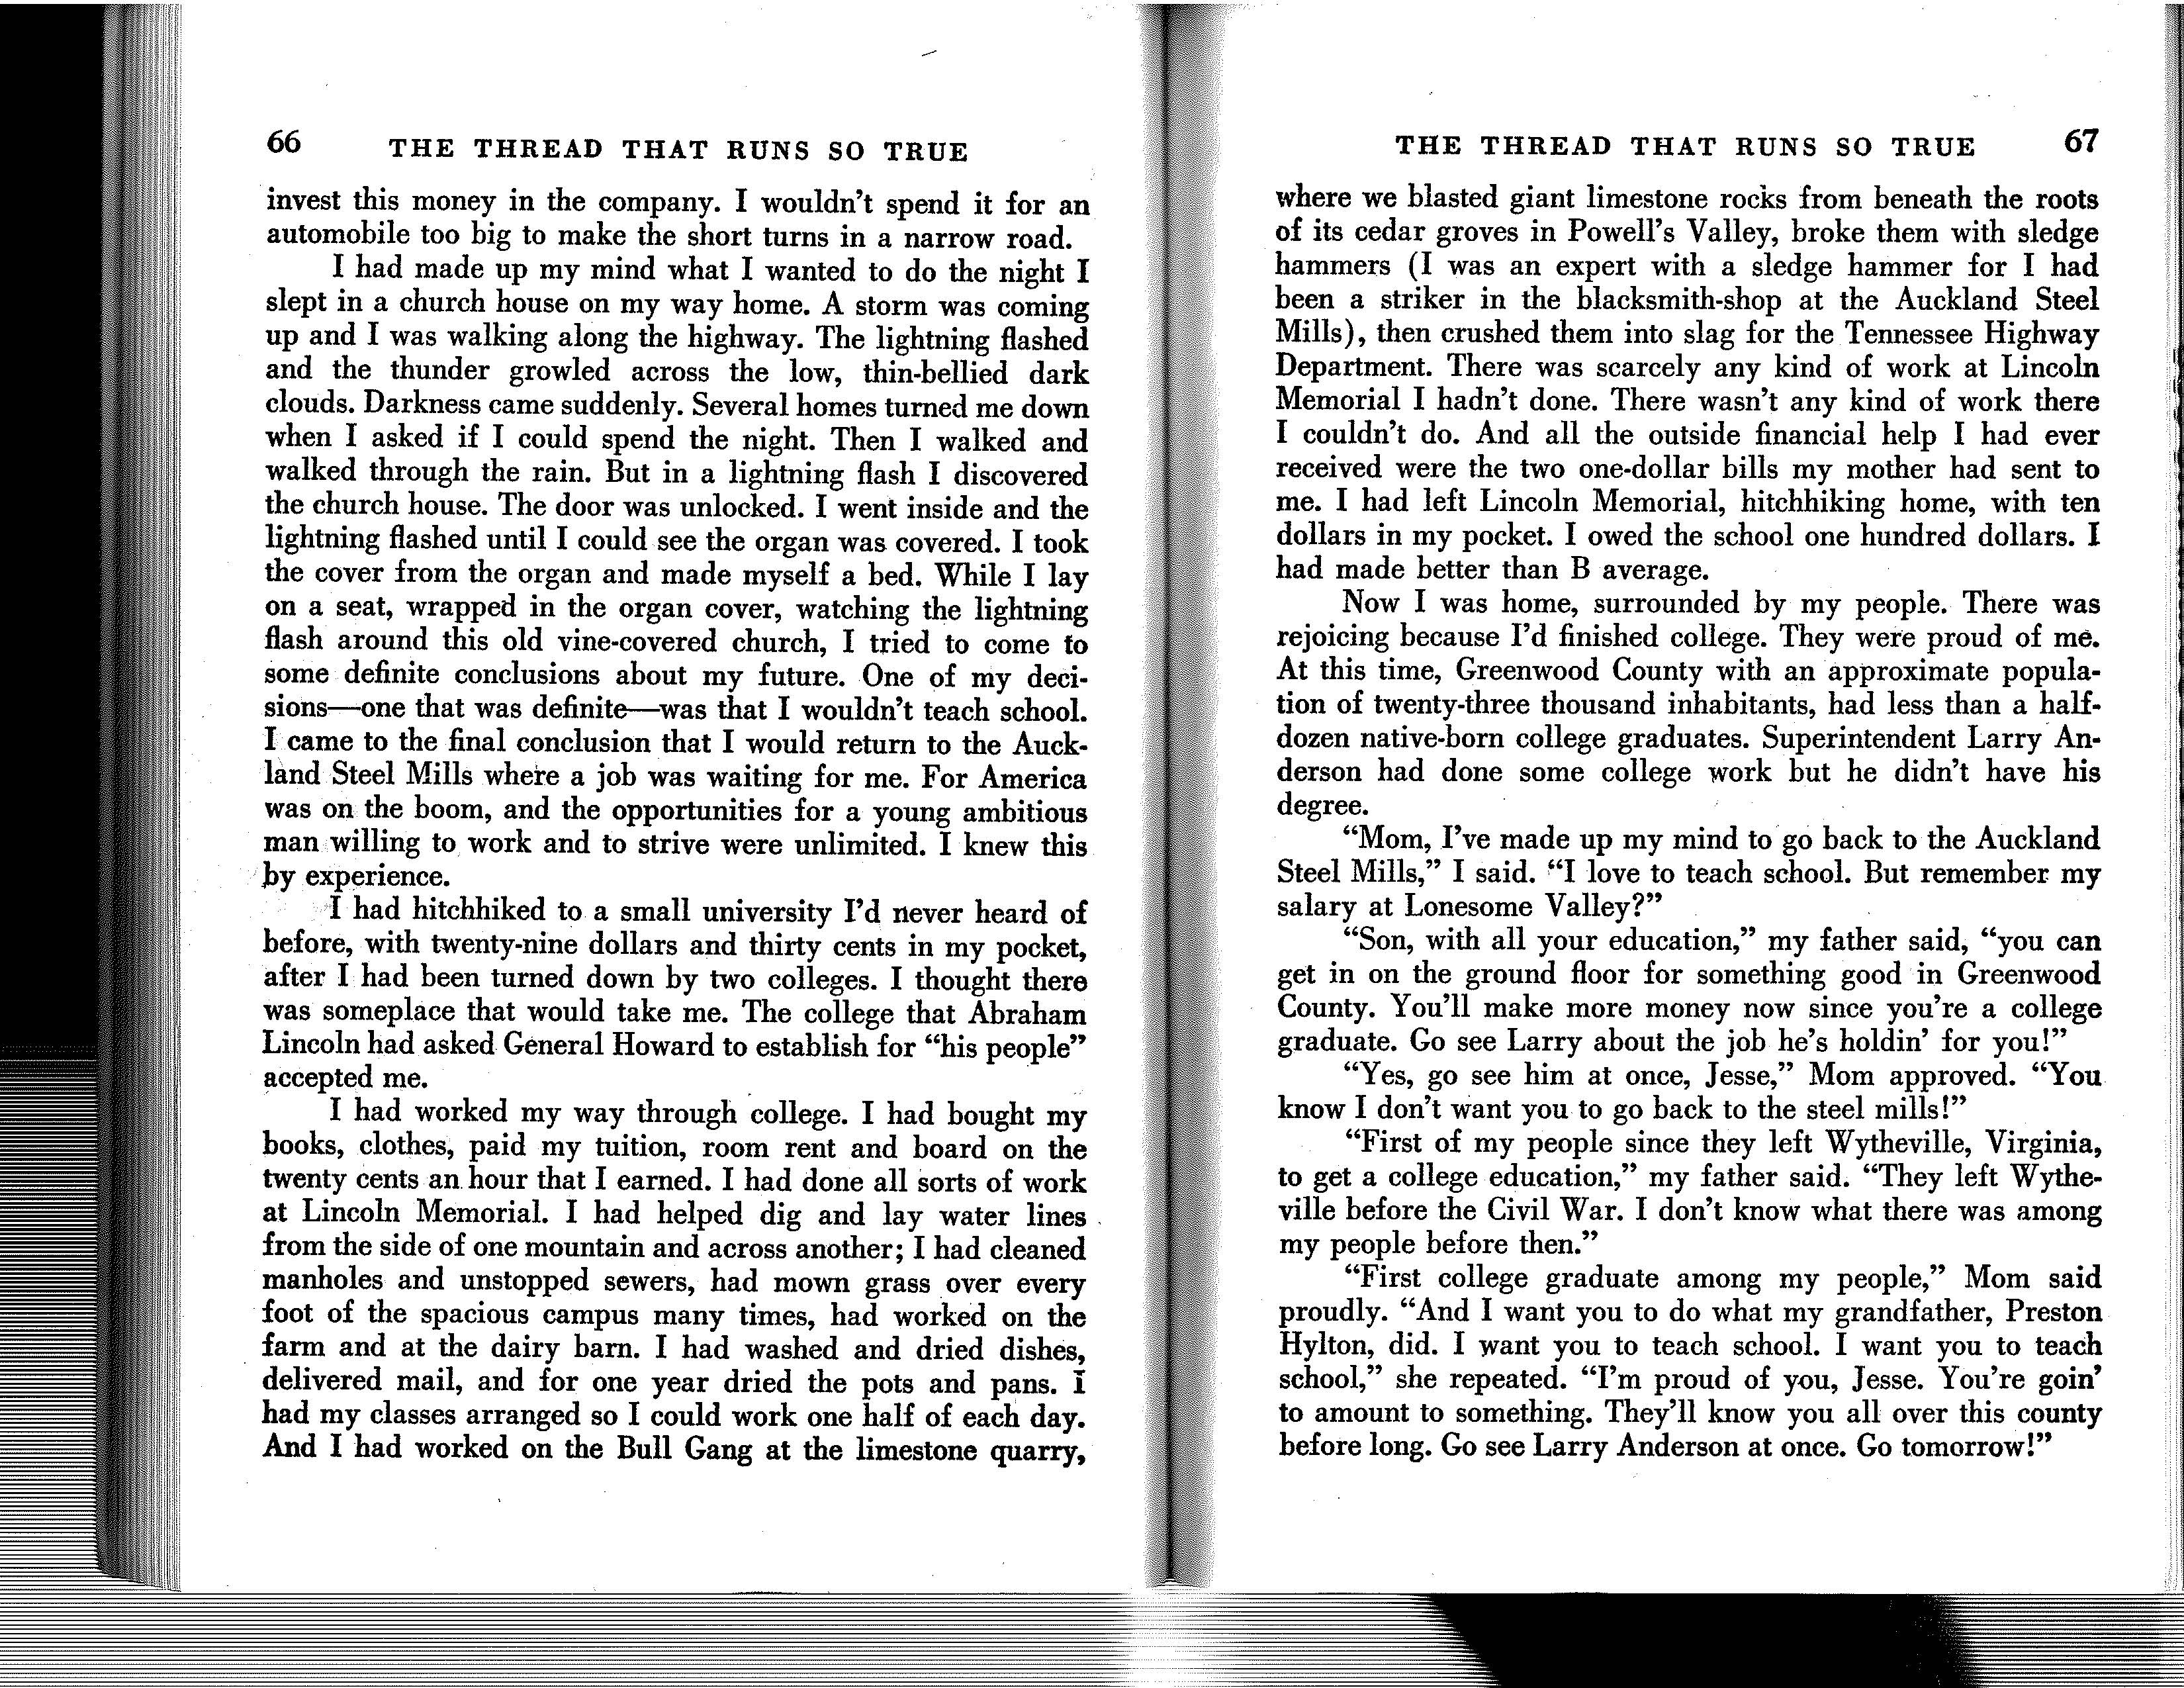
to this...
 Adobe Scan Mobile App
If you do not have access to a scanner, you can still produce high quality scans from a mobile device. The Adobe Scan mobile app allows you to scan documents in high quality, which you then can upload to Acrobat Pro DC to make an edits and accessibility checks. Adobe Scan is available for download in the Apple App Store and Google Play.
If you have any questions about creating high quality scans, please email mnuno@csusm.edu