myCSUSM


Add Files
Why Do This
Rather than printing physical copies of course materials such as the syllabus, PowerPoints, articles, worksheets, etc., you can add those files directly to your course in Cougar Courses. Thus students can access, view, and utilize these materials where and when they need them.
Note: We do not recommend you upload video or audio files directly to your course. Instead, upload your multimedia files to Microsoft Stream or YouTube (unlisted) and put the links to the videos in your course.
Add files
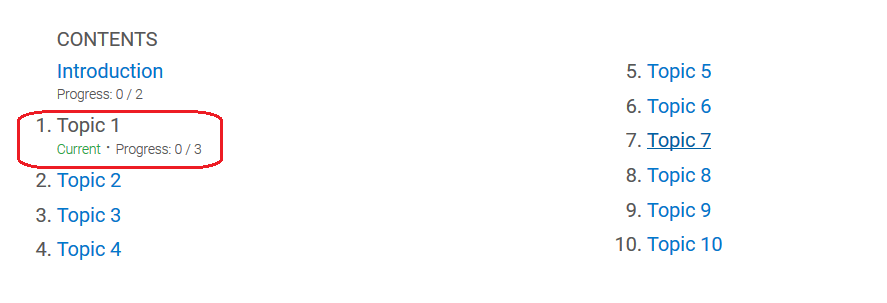
- In the Contents area of your course click on the topic/module you want to add the file to.
- Scroll down to the bottom of the topic/module. There are two ways to add files to
the topic/module: The first is to drag and drop the files from your computer to the
area inside the dotted line. The second is to click on box to open the File Picker.

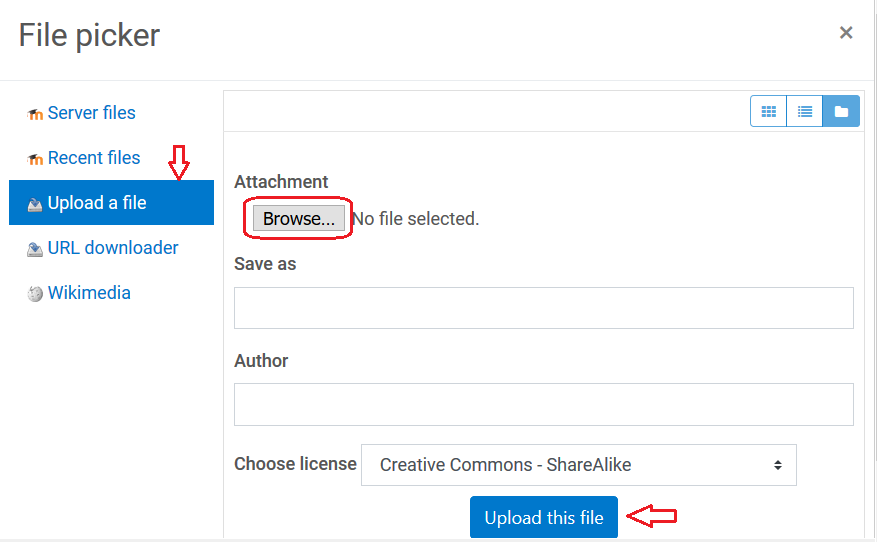
When the File picker opens, select “Upload a file” on the left, click the browse/choose file button, locate and select the file(s) on your computer, and then click the blue “Upload this file” button.
- The file(s) will then be added to the bottom of that module. To move a file, please see our help guide Move Items or Topics/Weeks.
Rename a file or add a description
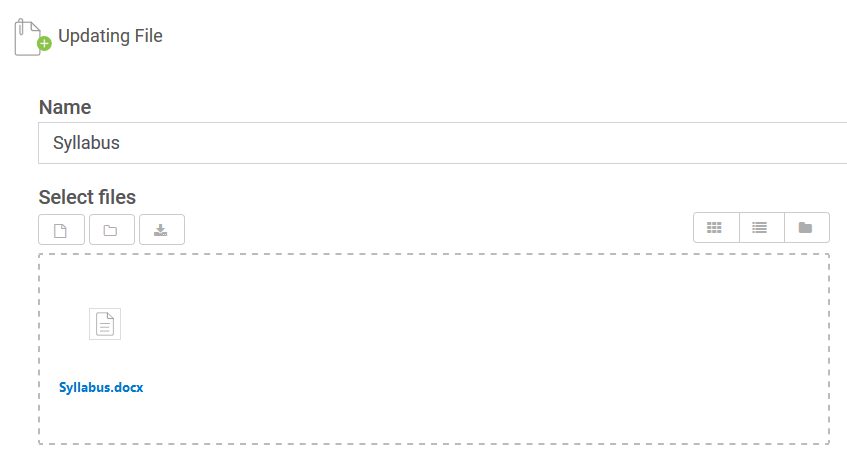
- Locate the file in your course and click on the pencil underneath.

- Make any changes to the name.
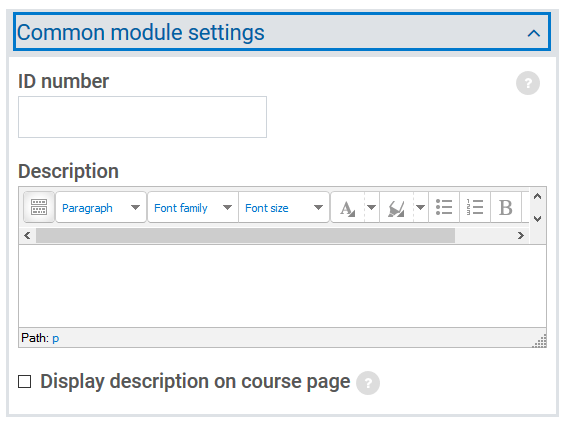
- To add a description (to provide context for the file), click expand the Common Module Settings section on the right.
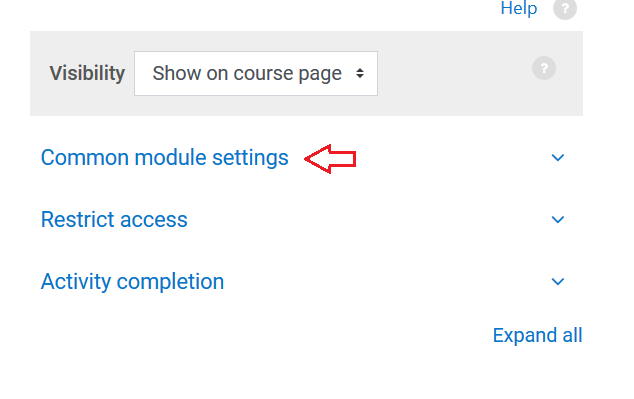
- Enter the description. To display the description underneath the name of the file, check the box for “Display description on course.”
- Click “Save and return to course.”