

 myCSUSM






Presentation Recording
Sometimes called "lecture capture," we have several ways for faculty, students, and staff to record and distribute media content.
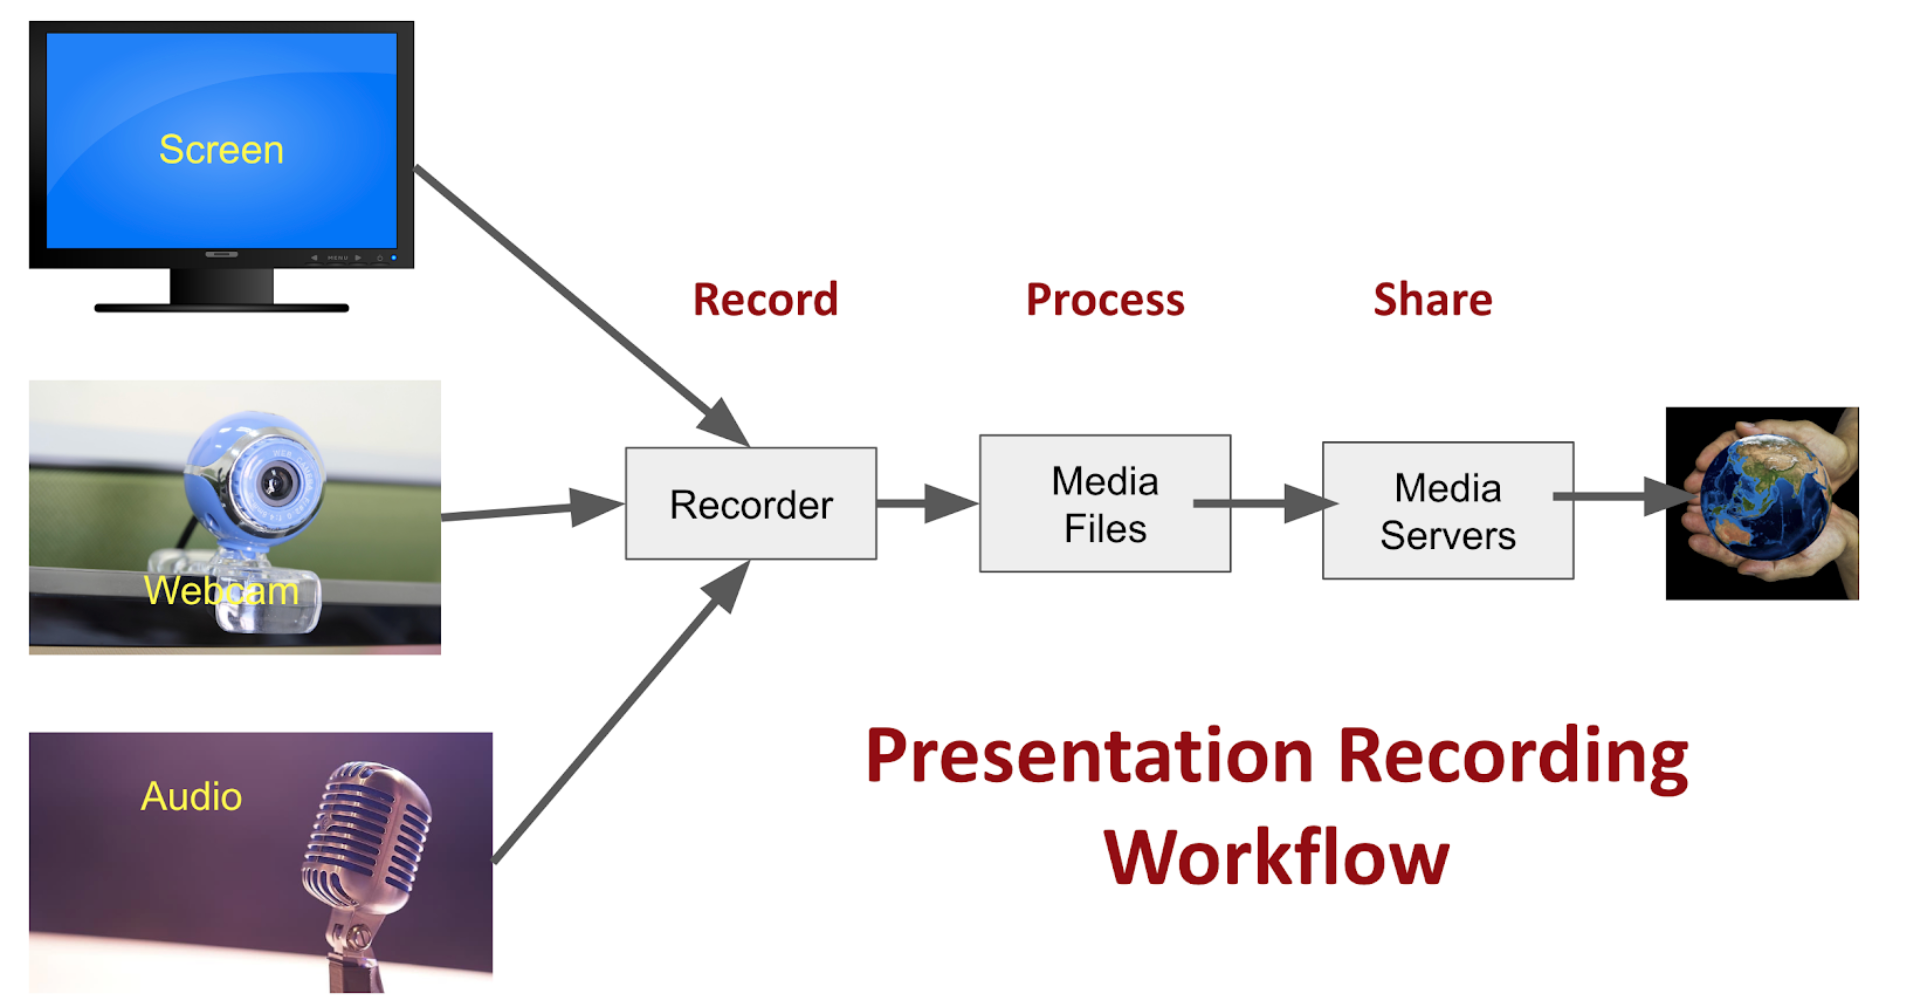
First you need to record - this may include what’s on the screen of your computer, video of you yourself, and of course your spoken words. Secondly you need to be able to manage your recordings, to get them to the persons that need them in a format that works for them. There are a variety of ways to record and distribute video. Which one you choose depends on what kind of videos you want to record, who needs to record, and who needs to view. Some of the options include:
Recording Software
- Microsoft Stream Recorder (on SharePoint) - Part of the Office 365 suite of tools, with capabilities to upload existing videos or record presentations less than 15 minutes in length.
- Microsoft Teams - Part of the Office 365 suite of tools, any Teams meeting or call can be recorded, capturing audio, video, and screen sharing activity, and securely shared.
- Zoom - A tool used for meetings that can record audio, video, and screen sharing activity,
and securely shared.
- SnagIt - A simple desktop recorder for Windows and Mac to quickly capture video or image for how-to content. Download a free trail of SnagIt and then get the passcode to authorize SnagIt use.
Which recorder is right for you?
Let's look at some scenarios:
- I want to record some short lecture portions that I can place online in Cougar Courses.
Microsoft Stream Recorder
- Record your screen with narration for up to 15 minutes.
- Manage your videos from the Stream Start Page.
Zoom
- Start a Zoom meeting and choose record to the Cloud.
- When you’re finished, locate the video in Recordings to manage and share the videos.
- Download the video and upload it to YouTube or OneDrive/SharePoint.
- Note: Zoom is a short-term storage solution. Videos that need to be kept more than one semester should be downloaded and uploaded to OneDrive/SharePoint. Please download or delete videos at the end of the semester.
- I want my students to record presentations and upload to Cougar Courses for peer review
and grading.
Microsoft Stream Recorder
- Record your screen with narration for up to 15 minutes.
- Manage your videos from the Stream Start Page.
Zoom - use Zoom to create a meeting and record to the desktop. Zoom’s record feature allows you to pause and restart recording during a session. Students upload to YouTube or OneDrive and post the link in various Cougar Courses assignments (e.g. forum, assignment, workshop)
- I'm doing live sessions in which there is information that would be good for students
to review later on.
Microsoft Teams
Zoom - use Zoom meeting and choose Record to the Desktop or Cloud.
- Zoom’s record feature allows you to pause and restart recording during a session.
- Add the URL to your course in Cougar Courses.
- Download the video and upload it to YouTube or OneDrive/SharePoint.
- I want to do some really fancy videos that will require editing and graphics.
- Adobe Premiere is one of the top screen-recording products available. For that reason it is more complex and can take some time to get used to.
Streaming media platforms
- Microsoft OneDrive/SharePoint - Upload existing videos to OneDrive/SharePoint for streaming.