myCSUSM


Add a Book (collection of pages)
Why do this
The Book resource allows you to create a multi-page resource that can be displayed and edited within the browser (no need for you or your students to download!). Books are comprised of main chapters and sub chapters. The robust HTML text editor allows you to add many different kinds of content to each chapter including text, images, external links, PoodLL audio/video, and embed videos. You can use a Book to provide information, instructions, a list of URLs, embedded videos, or incorporate images with text.
Unfortunately the Book resource is not interactive. To build interactive content you will want to use Lesson or H5P.
Set up the Book
- While in your course, go to the module/week in your course where you want to add the Page.
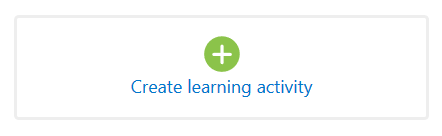
- At the bottom of the module, click the "Create learning activity" link in the lower left.
- Click on the Resources tab. Select Book.

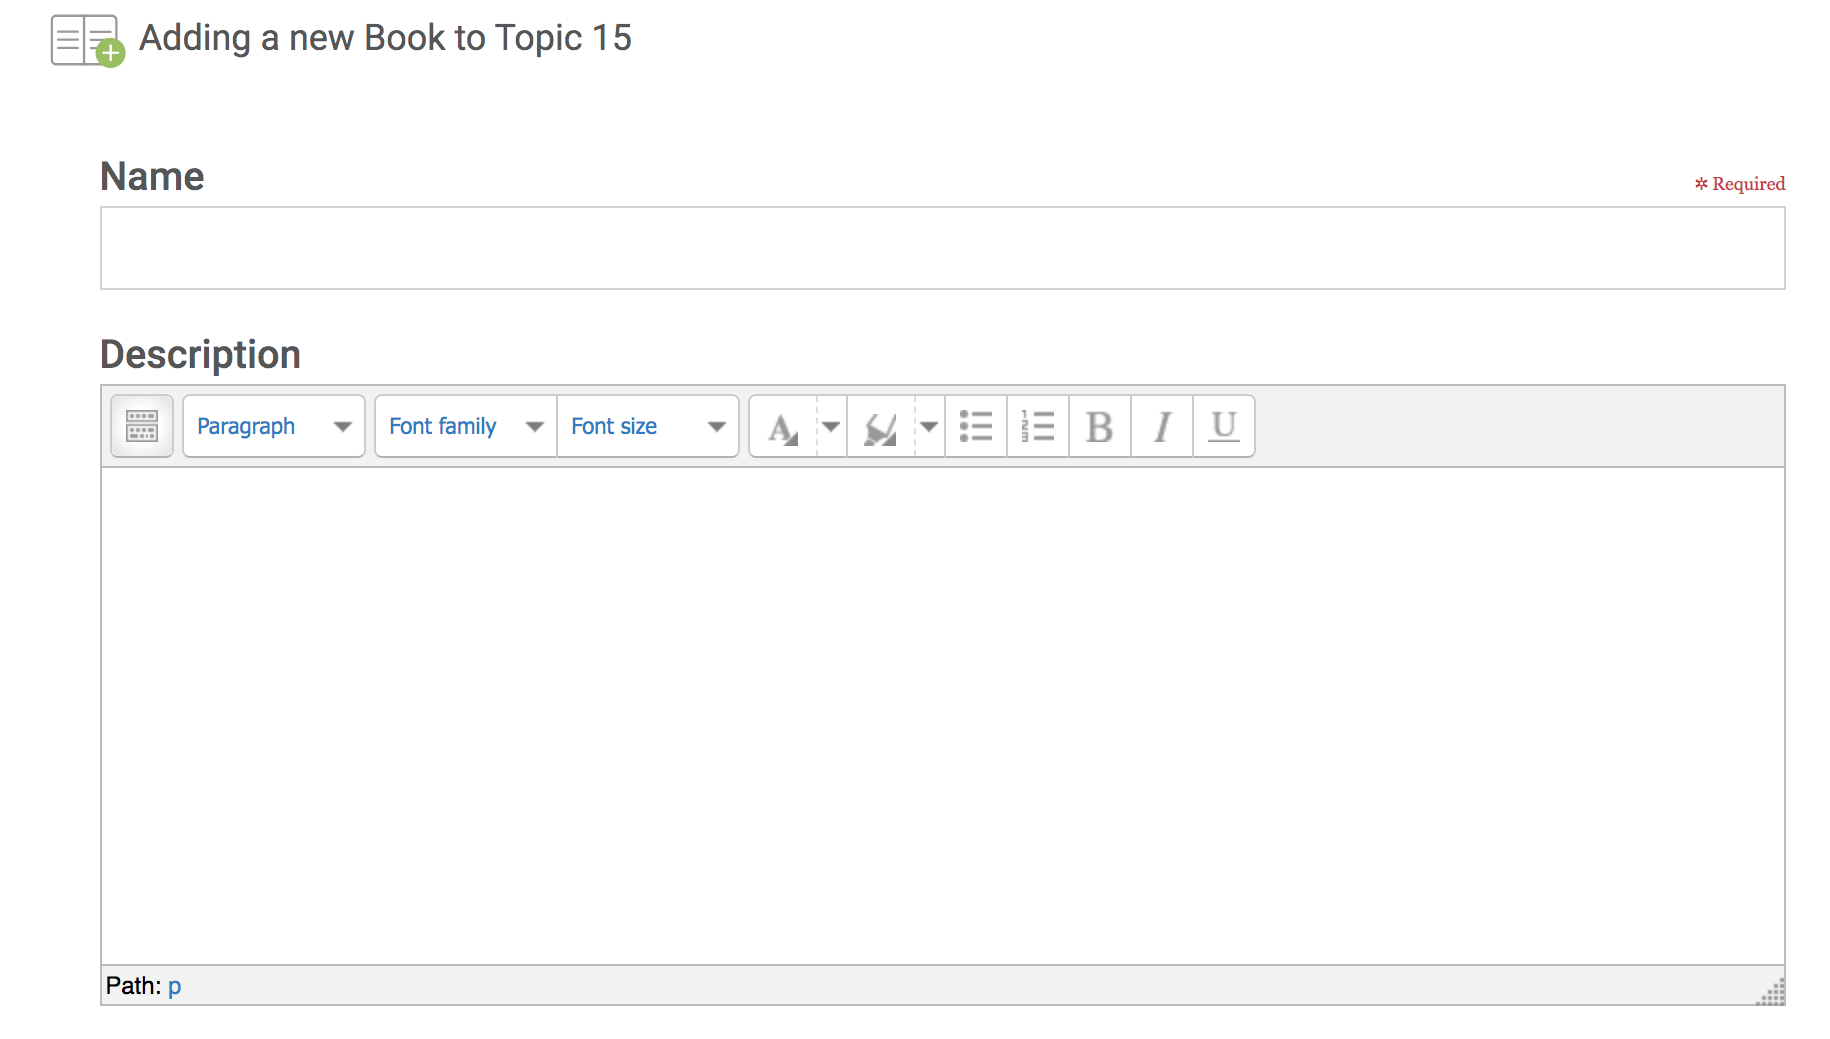
- Enter a descriptive Name for your book. Optional: enter a Description for your Book.
- On the right hand side click on Appearance to expand the section:
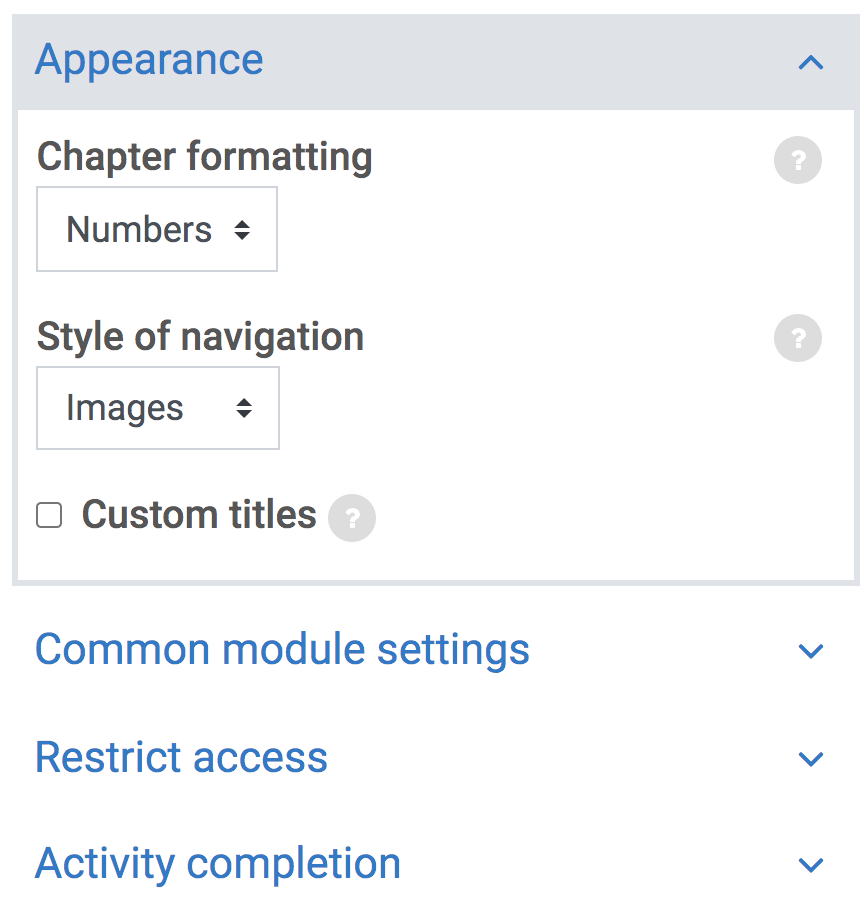
- Chapter formatting:
- None - chapter and subchapter titles are not formatted.
- Numbers - chapters and subchapters are numbered (1, 1.1, 1.2, 2, ...)
- Bullets - subchapters are indented and displayed with bullets.
- Indented - subchapters are just indented.
- Style of navigation: Choose between using icons for navigation between chapters, or text links, or no navigation (just the Table of Contents on the left).
- Custom titles: By default the chapter title is displayed in the Table of Contents and as a heading above the content. If you check the box for Custom titles the chapter title is not displayed above the content, you can enter a unique heading to be displayed there.
- Chapter formatting:
- Restrict Access: see our help guide on restrict access for more information on this topic.
- Activity Completion: See our help guide on activity completion for more information on this topic.
- Click Save and display.

Add and Manage Chapters
First chapter
As soon as you click Save and display it will take you to create your first chapter.
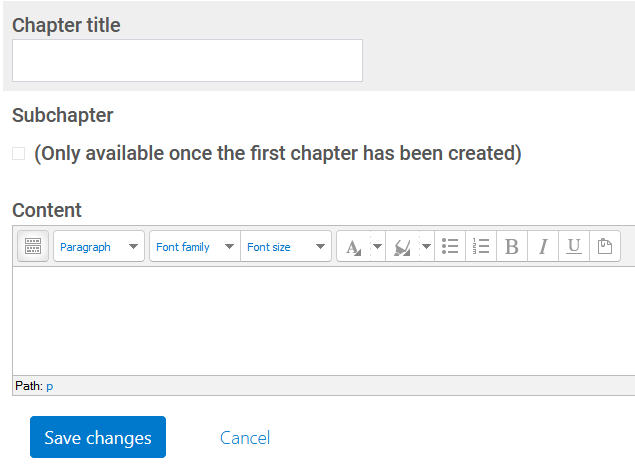
- Enter the Chapter title.
- Add the Content. See the help guide “Using the Text and Page Editor Tools” for directions on how to add and format text, images, tables, links, etc.
- When finished click Save changes at the bottom.
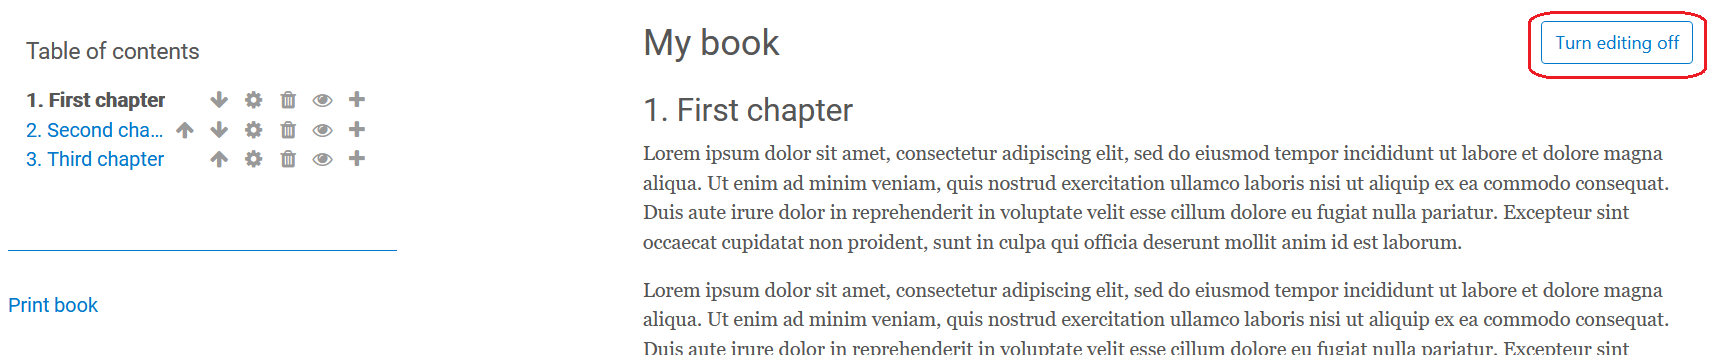
Add & manage chapters
Click "Turn editing on" in the upper right.

- To add a chapter, click the plus sign.
- To edit a chapter, click the gear icon.
- To hide a chapter, click the eye icon so there is a slash through it.
- To move a chapter up, click the up arrow. To move a chapter down, click the down arrow.
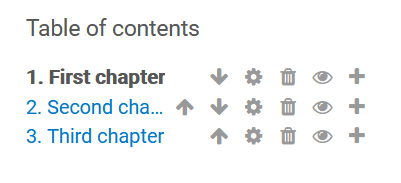
When finished don't forget to Turn editing off.