
 myCSUSM


Add Labels to Organize Your Content
Why Do This
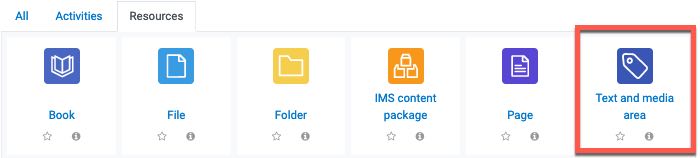
Update: The theme was updated and the icons are different. This is the new icon for labels.
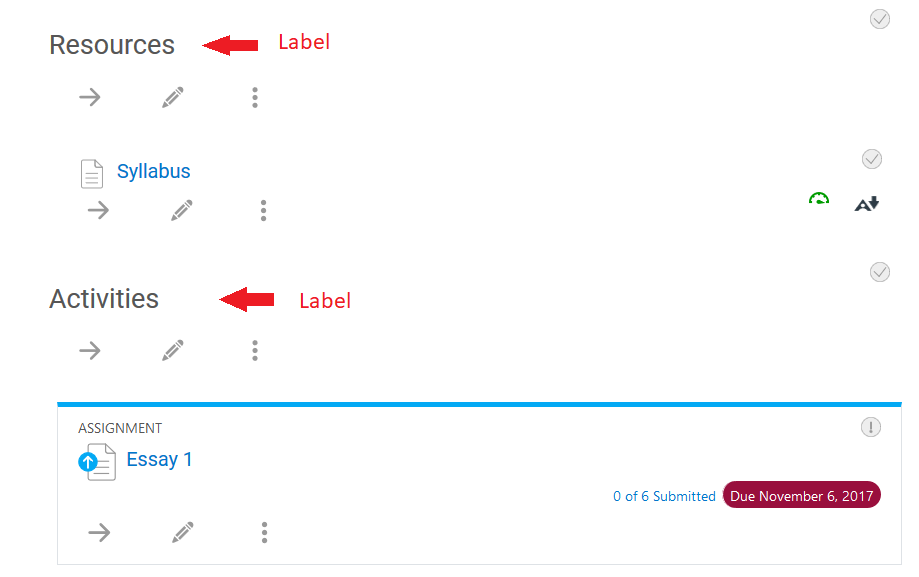
Use labels to organize content within modules of your course. In this way labels can act as sub-headings within your module/topic. For example:
Add a Label
- While in your course, go to the module/week where you want to add a Label.
- Scroll to the bottom of the topic area and click the "Create learning activity" link in the lower left.

- Select the Resources tab and choose Label from the list.

- Add text to the label text box. You can also insert an image. Please see our help guide on using the text editor toolbar for more options.

- When finished click the "Save and return to course" button.
- You will see the Label as the last item in the topic area. If you would like to move it, please see this help guide on how to move an item. If you want to use this Label in more than one module/week, click the three dots under the label and select Duplicate. An exact copy will be made and listed below the original, then just move the copy to the desired module.