myCSUSM


Using the Glossary
The glossary activity allows participants to create and maintain a list of definitions, like a dictionary, or to collect and organize resources or information. Definitions can include text, images, links, and attachments. Your instructor can choose to moderate entries, allow duplicate entries, grade entries, and allow comments on entries.
Adding Glossary Entries
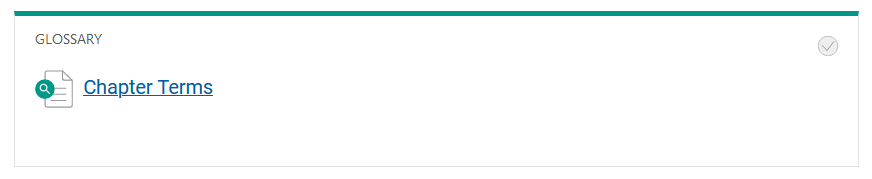
- From your course homepage click on the name of the glossary.
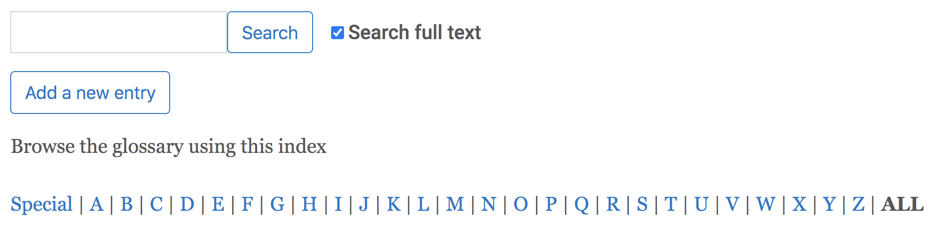
- Click the "Add a new entry" button on the left under the search box.
- In the Concept box enter the word or phrase you are describing and then enter the Definition. For assistance please see our help guide on using the Text Editor Toolbar.
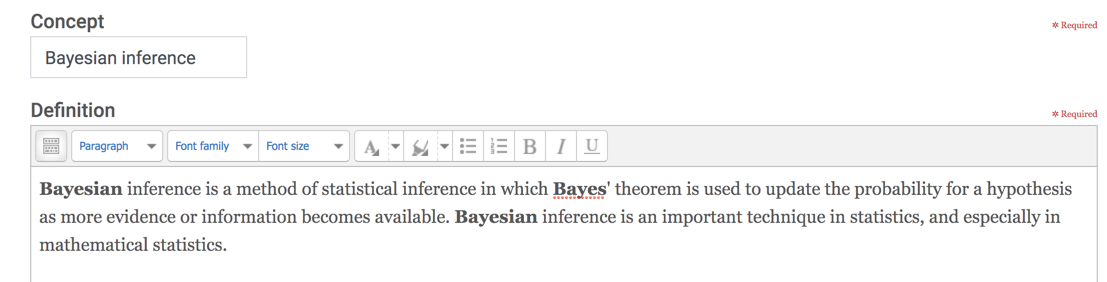
- Optional: add any keywords and attach any related files.
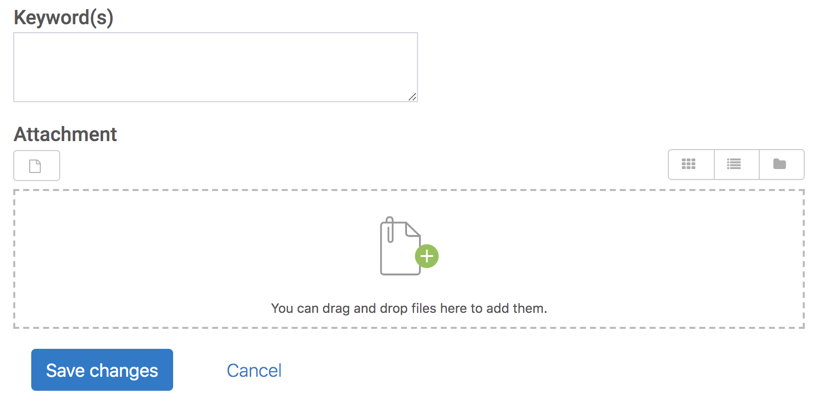
- When finished, click Save changes at the bottom. If your instructor has not allowed duplicate entries and someone has already created an entry for this concept, you will receive an error message. Return to step 3 and continue with a different concept.

- Your entry will then be posted. If your instructor is moderating entries your entry will remain hidden from others until it has been approved.
Editing/Deleting Glossary Entries
If allowed by your instructor, you can edit or delete your posted entries.
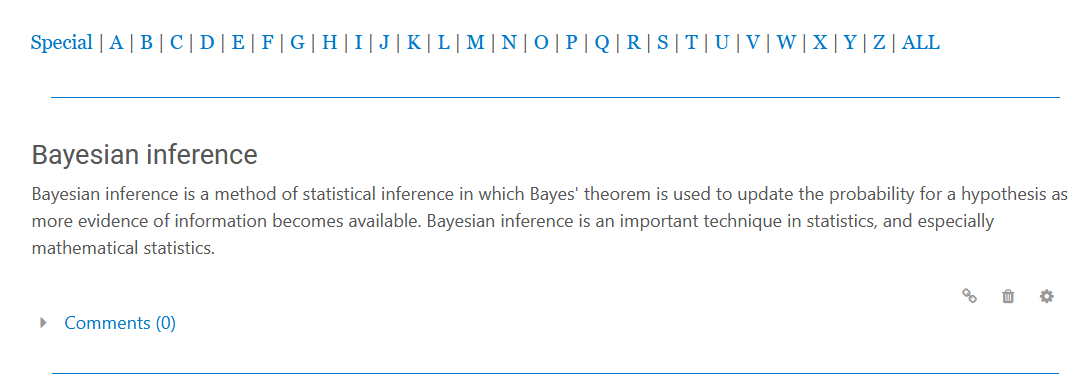
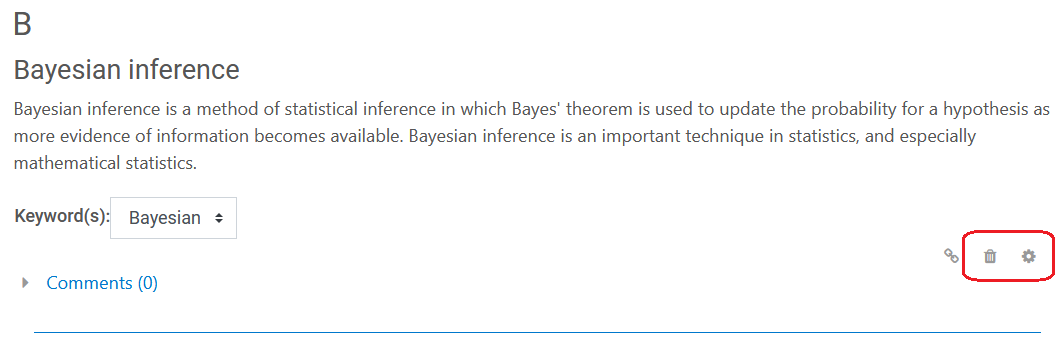
To edit, click the gear icon in the lower right of the entry. To delete, click the trash can icon in the lower right of the entry.
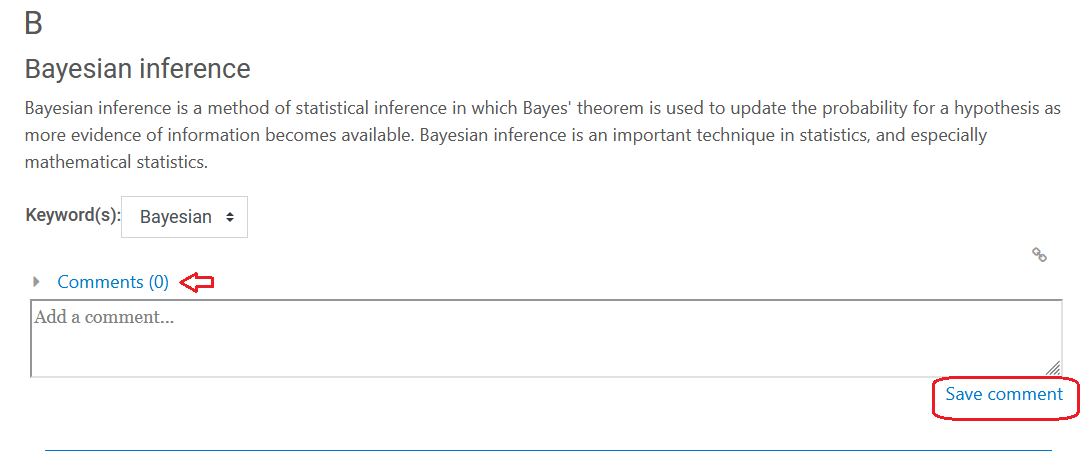
Commenting on Glossary Entries
If allowed by your instructor, you can comment on glossary entries.
To do so, click on Comments below the entry. Write your comment and when finished click Save comment.