
 myCSUSM


Backup and Restore Course Content
Why Do This
Use the Backup and Restore process below to copy content from one Cougar Courses or Community container to another if:
- The content you want to copy is from a Cougar Courses container from Summer 2019 or earlier.
- You are transferring content between Cougar Courses and Community.
- You want to share your course content with another instructor.
Use the Import process if:
- The content you want to copy is from a Cougar Courses container from Fall 2019 or later.
- You are copying content between two Community containers.
Steps
- Create a backup file of the course container.
- Save the backup file to your computer.
- Restore the backup file into the other course container.
Step 1: Create a backup file of the course container
- Go into the course container that has the content you want to copy. To access course containers from Summer 2019 or earlier, click on the Previous Courses link in the blue footer at the bottom of Cougar Courses. In the Courses section, select the academic year link that contains your course. The link should open in a new window. Log in using your current CSUSM username and password. You will need to use CougarApps to access. Please visit CSUSM’s page on CougarApps to access CougarApps and learn more about using it.
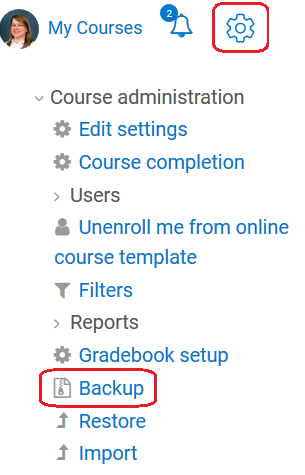
- Click on the gear in the upper right to access your Course Administration. Then click Backup.
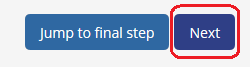
- On Backup settings screen, leave the defaults checked and click the Next button in the bottom right.
- This will bring you to the Schema settings page which displays all activities and resources in the course. By default everything
is selected for backup.
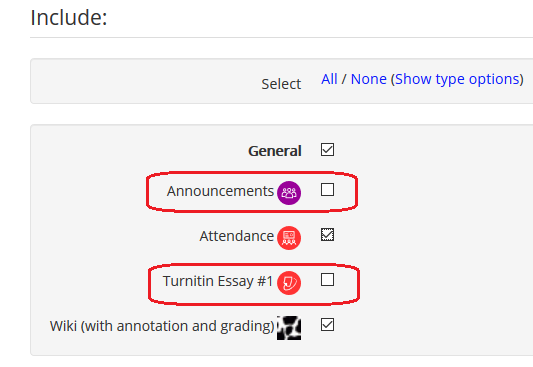
- Uncheck the News Forum/Announcements.
- Uncheck all TurnItIn assignments. Including Turnitin assignments in the backup file will cause the restore to fail.
- Uncheck any other items or entire topics/modules you do not want included.
- If you are copying just a few items, select None at the top of the list, then check both the topic name (bold text) and the item(s) within that topic you want to backup.
- Scroll to the bottom and click Next in the bottom right.

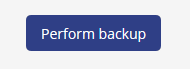
- This will take you to the Confirmation and Review page. Scroll to the bottom and select Perform backup.
- After “The backup file was successfully created” message displays, click Continue.

Step 2: Save the backup file to your computer
- After clicking Continue, you will be taken to the “Import a backup file” page. Scroll to the Couse backup area.
- The backup file you just created should be the first in the list. Look at the time of the file to verify. Click the Download link for that backup file. Do not click the Restore button.

- Depending on your browser, either a popup window will prompt you to save/open (Firefox) or the file will be automatically downloaded and saved in your Downloads folder (Chrome). If prompted, save the file only - do not try to open the file, as your computer will not be able to read it.
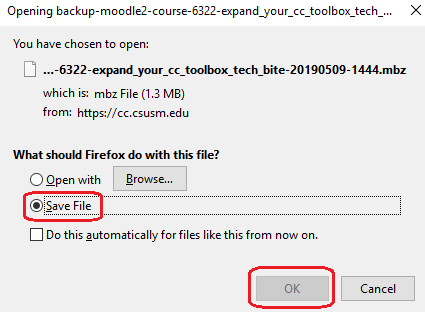
If you are within CougarApps, keep in mind you are in the virtual environment when saving.
If you are providing the file to another instructor as a means of sharing your course content, you can email the backup file or share it via your to campus One Drive.
Step 3: Restore the backup file into the other course container
- Once you have downloaded the backup file to your computer, go into the course where you want to bring the content into.
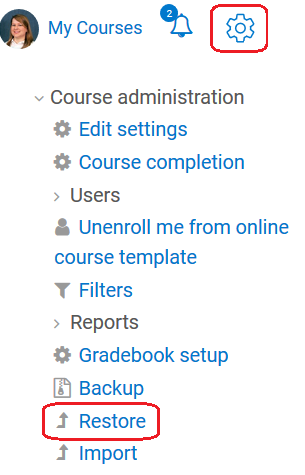
- Click on the gear in the upper right to access your Course Administration. Then click Restore.
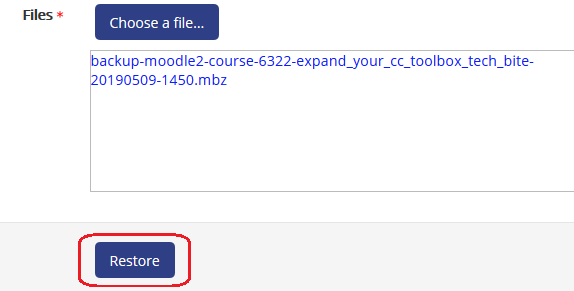
- In the “Import a backup file” section, either click on “Choose a file” to browse for the backup file you downloaded, or drag and drop the backup file directly into the dash-lined box.

- When the backup file name appears in the box, click the Restore button.
- On the Confirm (Backup details) page all items found in the backup file will be listed. Scroll down and click the Continue button in the lower right.
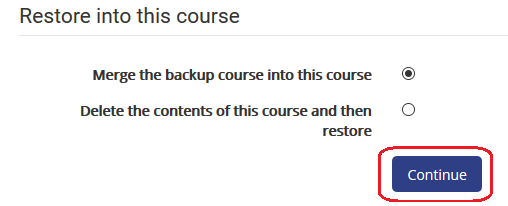
- On the Destination page, in the “Restore into this course” section, make sure “Merge the backup course into this course” is selected and click the Continue button just below. Do not check "Delete the contents of this course and then restore" as this will delete all students in the course.
- On the Restore settings page, keep the defaults checked and scroll to the bottom and click the Next button in the lower right.
- On the Schema (Course settings) page, make sure no Turnitin Assignments are checked. Scroll to bottom and click the Next button in the lower right. Warning: DO NOT change the “Overwrite course configuration” to Yes or change the course name or short name.
- On the Review page, scroll to bottom and click the Perform restore button.

- After “The course was restored successfully” message appears, click the Continue button.
Once you have finished restoring content, please see our help guide "Checklist for Updating an Imported/Restored Course" for next steps.