
 myCSUSM


Create and Grade OU Blog
Why Do This?
The OU Blog activity allows students to create blog posts. These posts can be visible to the whole course, only visible to group members, or private between the instructor and each student. The instructor can allow attachments to posts, comments on posts, enable searchable tags (keywords), and grade student contributions. OU Blog is a better option than Forum when posting is the main purpose, rather than a back and forth discussion, and when a private blog is desired.
Setup
- While in your course, click on the topic/section where you want the OU Blog blog.
- Scroll to the bottom and click “Create Learning Activity”
- Choose OU Blog from the list of activities.

General Settings
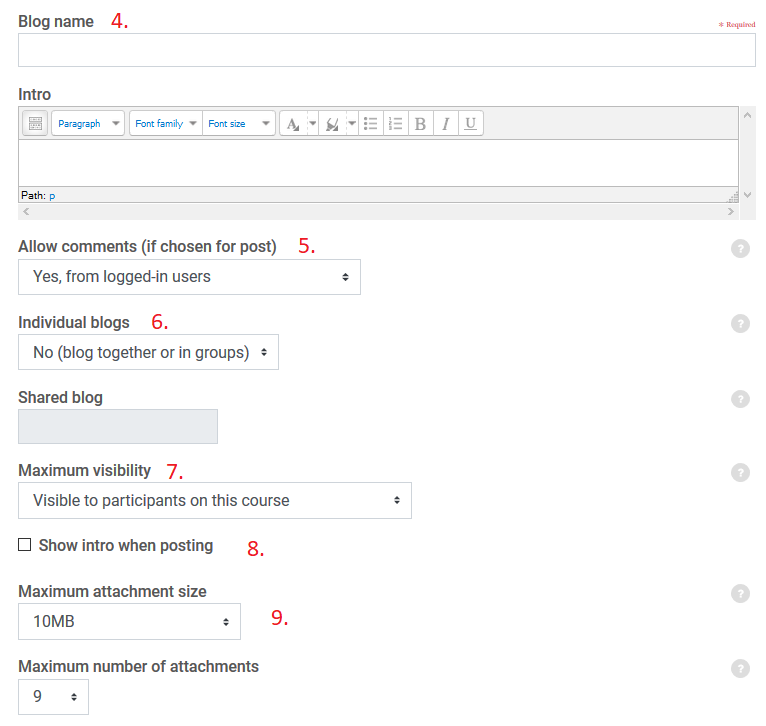
- Give your OU Blog a name. Enter your instructions for students in the Intro box.
- Choose whether you would like to allow comments or not on blog posts. If you do not want to allow comments, choose “Comments not allowed.”
- Choose whether students blog as a class or in groups, as separate individuals, or as visible individuals.
- No (blog together or in groups) – students post as a class or as a group. If you want students to only see the posts of their group members, you will choose this option.
- Separate individual blogs – students post individually and posts are not visible to other students.
- Visible individual blogs – students post individually, but can view the posts of others.
- For Maximum visibility only “visible to participants in this course” is available in Cougar Courses.
- Check the box for “Show intro when posting” so that students can see the Intro when they go to post. They will not see the intro until they go to post.
- By default, students can add attachments to their posts. If you do not want them to
be able to add attachments to their posts, set the “Maximum number of attachments”
to 0.
- To expand all of the sections on the right hand side, click Expand all in the lower right. You can skip the first section Advanced Options.
Tags
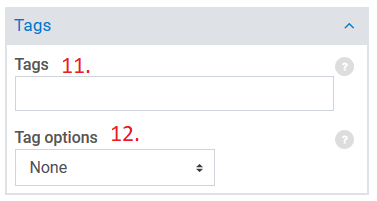
Tags provide key words that can be used to search for posts that are tagged with those words. Tags will be listed underneath a post. Clicking on a tag in will display all posts using that tag. Instructors can provide tags for students to use, or allow students to create their own tags.
- Enter tags you would like to provide for students to use. Tags should be comma separated.
- For Tag options choose if you want students to:
- None: not use tags
- Allow predefined tags only: only use your pre-defined tags (but they do not have to use tags)
- Must enter tags: require they enter their own tags
- Must enter pre-defined tags only: require they use your pre-defined tags
- Add tags by default: allow them to enter their own tags (but they do not have to use tags)
Contribution time period
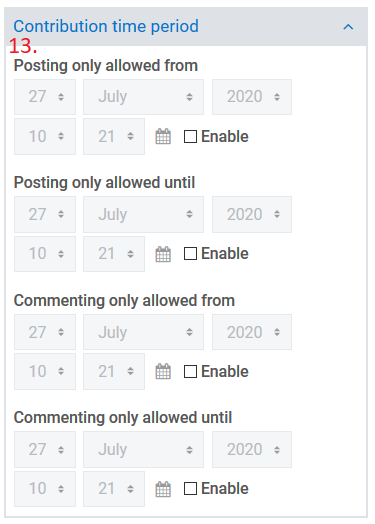
- Use this section to set open and close dates for posting and commenting, if desired.
Grade
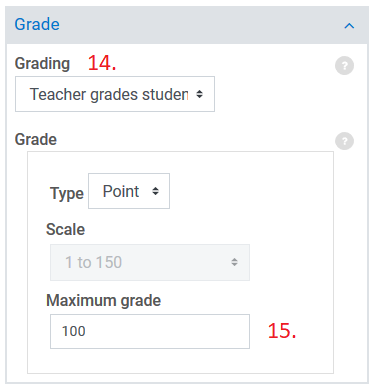
- If you want to grade this blog, select Teacher Grades Students. Do not select “ratings” as this can cause internal errors.
- Then enter the maximum grade for this activity. You can skip the section on Ratings.
Common module settings
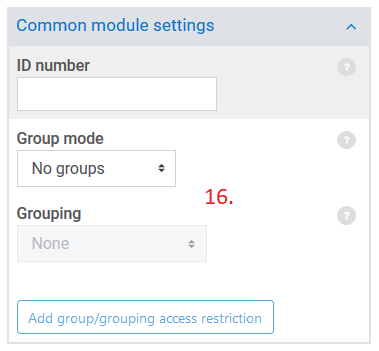
- If you want students to only see the posts of their group members, set Group Mode
to Separate Groups. Set the appropriate Grouping.
- See our help guide for more information on Restrict Access.
- See our help guide for more information on Activity Completion.
- When finished, scroll up and on the left select “Save and return to course” to return to your course homepage, or “Save and display” to view the blog.

Grade OU Blog
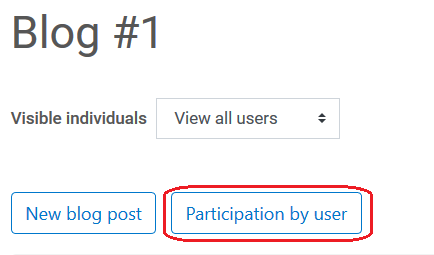
- From your course homepage, click on the OU Blog you wish to grade.
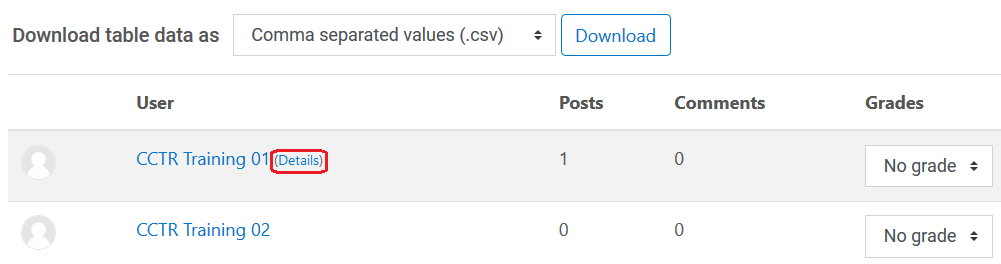
- Click on the “Participation by user” button at the top.
- For each student choose the grade from the dropdown under the Grades column.
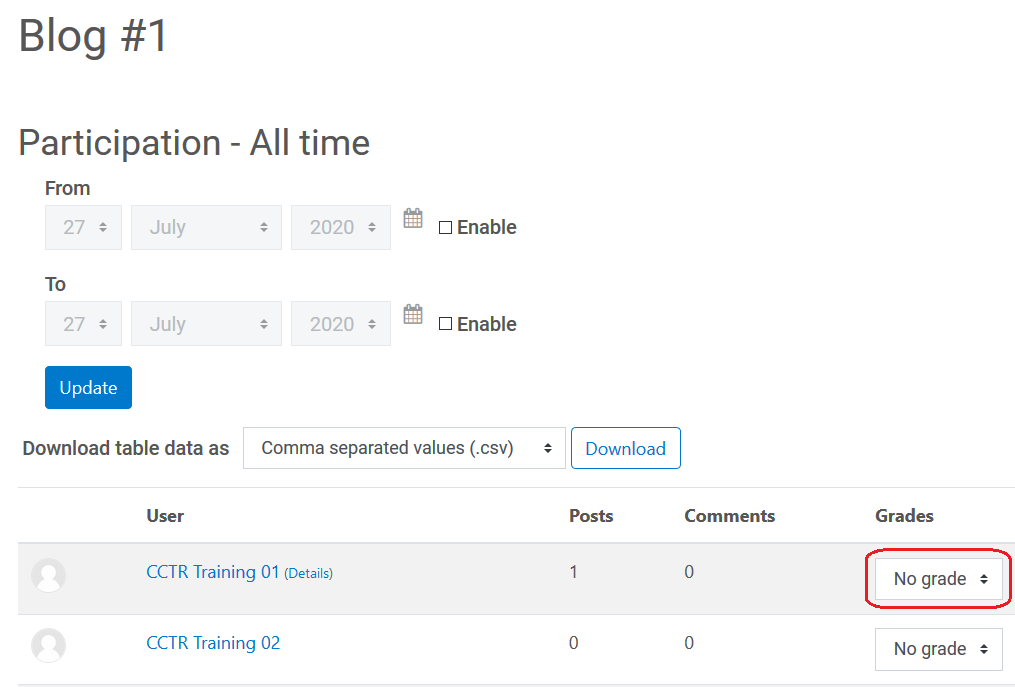
- Or, to view the posts and comments made by the student before grading, click "Details" to the right of the student name. If you do not see “Details” it means the student has not made any posts.
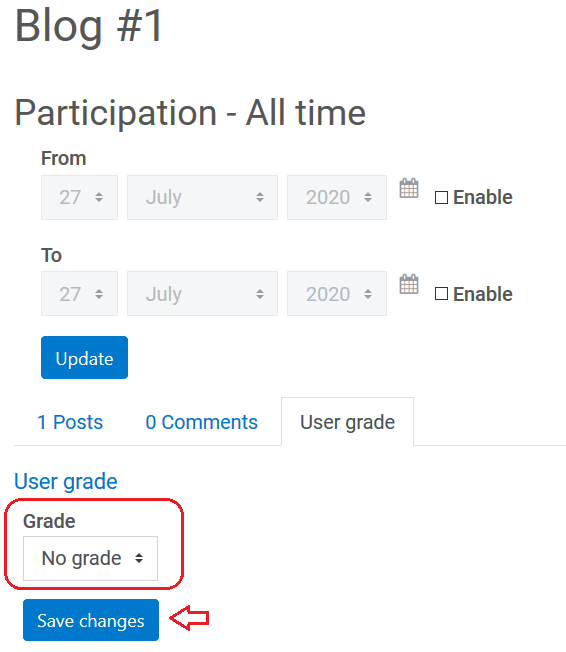
- View the posts and comments by the student. If you would like, filter by dates at the top.
- When ready to grade, click the User Grade tab.

- Choose the grade from the dropdown and click Save changes.
- You should be automatically taken back to the User Participation page. Repeat for each student.