
 myCSUSM


Questionnaire
Why Use
Questionnaire allows you to survey your students. Questionnaires can be anonymous or not, can allow for a single response or multiple responses from the same user, and can either display the results to students or remain private. Question types include Essay, Numeric, Check Boxes, and Rate, among others. It is very similar to another activity called Feedback. The main difference is that with Questionnaire you can have the system automatically award points to students for taking the survey. For more information on Feedback, please see our help guide on Feedback.
Questionnaire Settings
In your course, click the "Create learning activity" link at the bottom of the appropriate topic section.
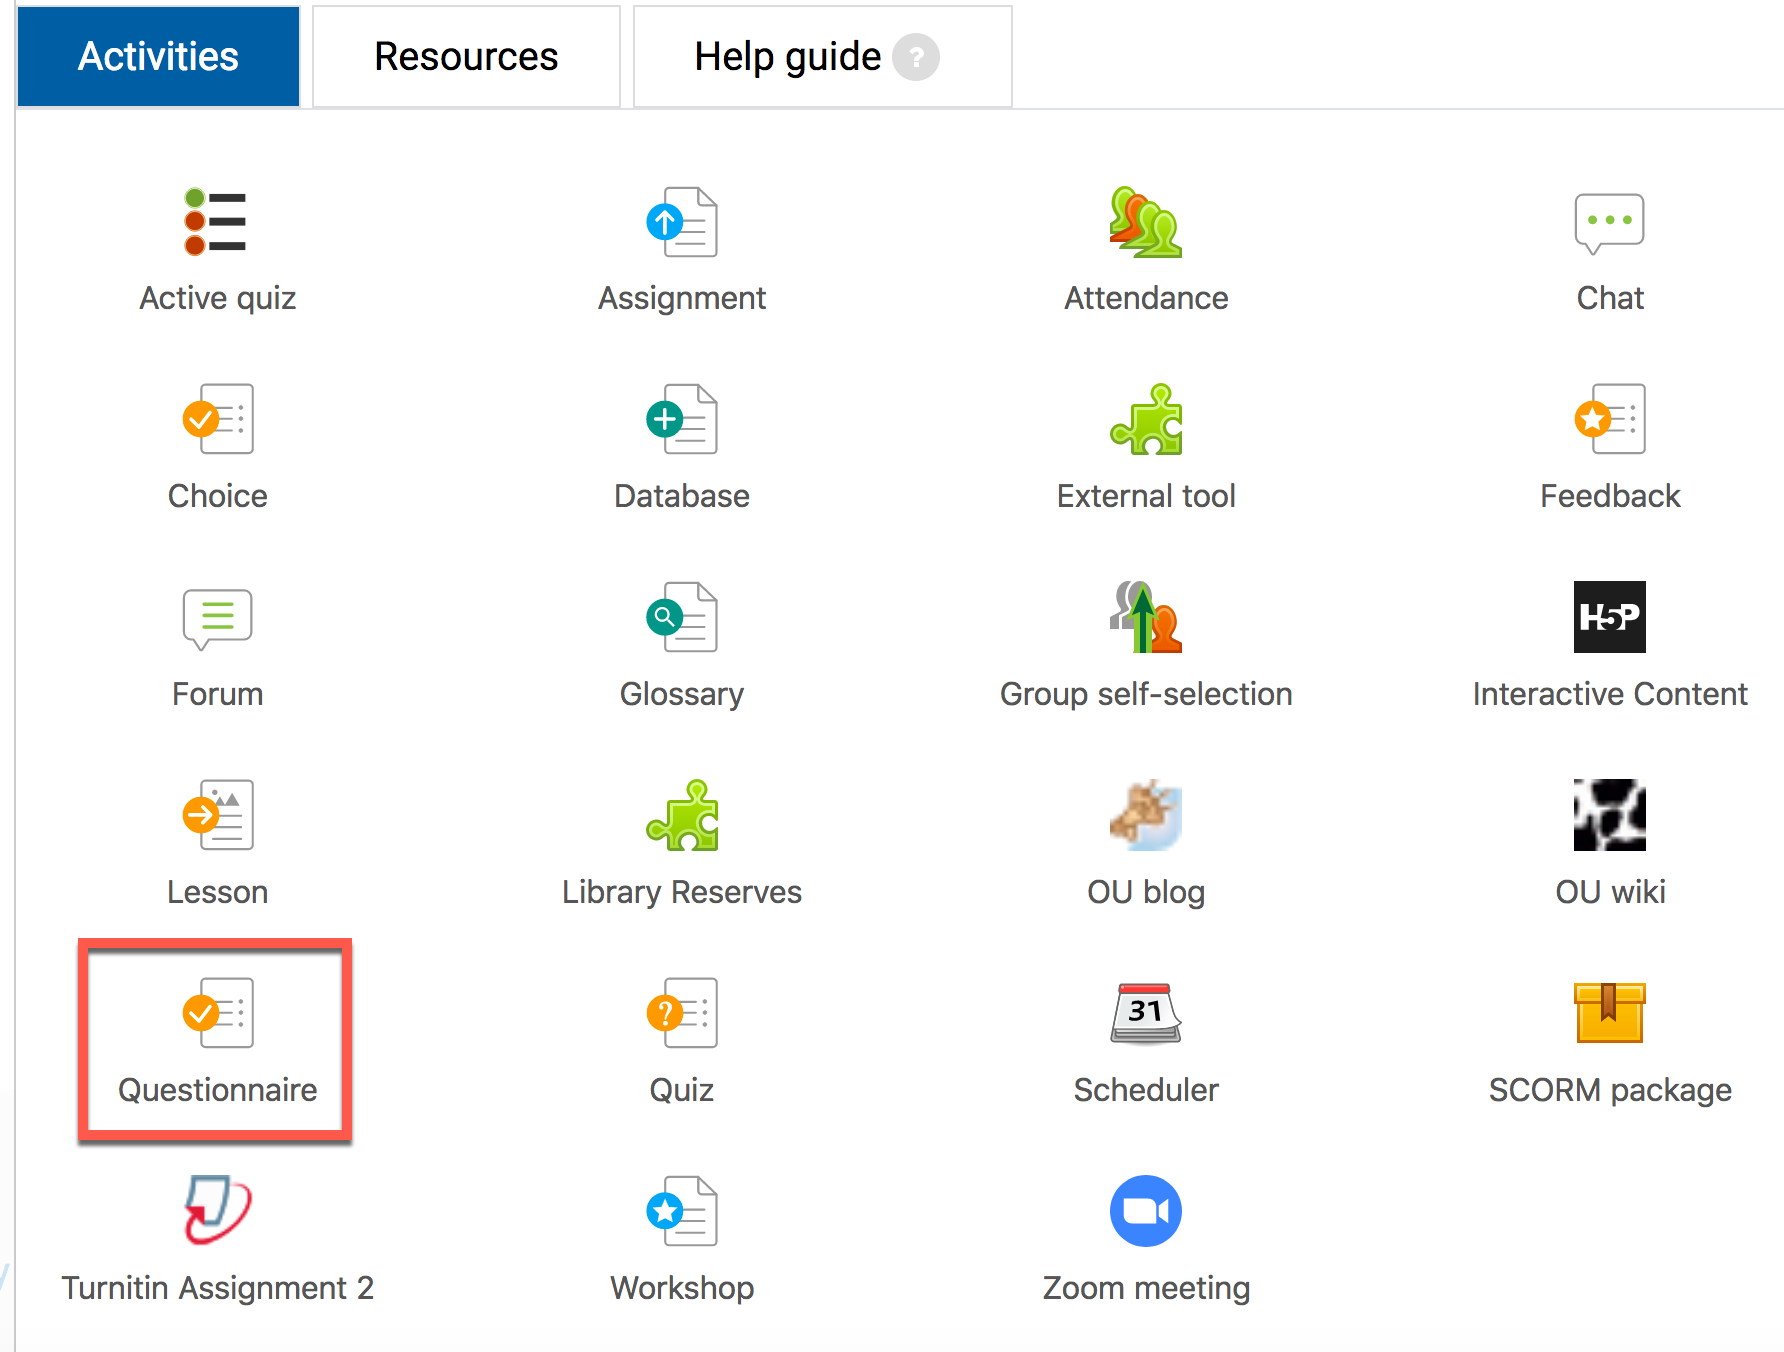
Select Questionnaire from the Activities tab.
Give this survey a Name and Description.
On the right side there are sections of settings that allow you to adjust various choices about how the survey will work.
Availability
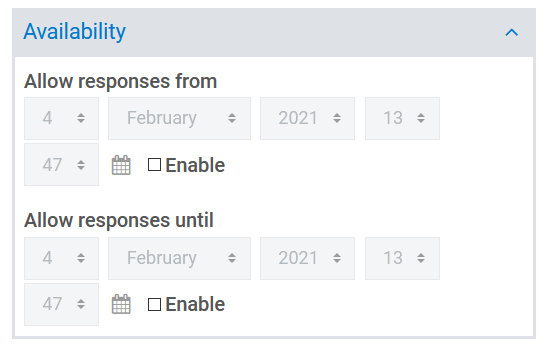
Allows you to set open and close dates and times for the survey.
Response Options
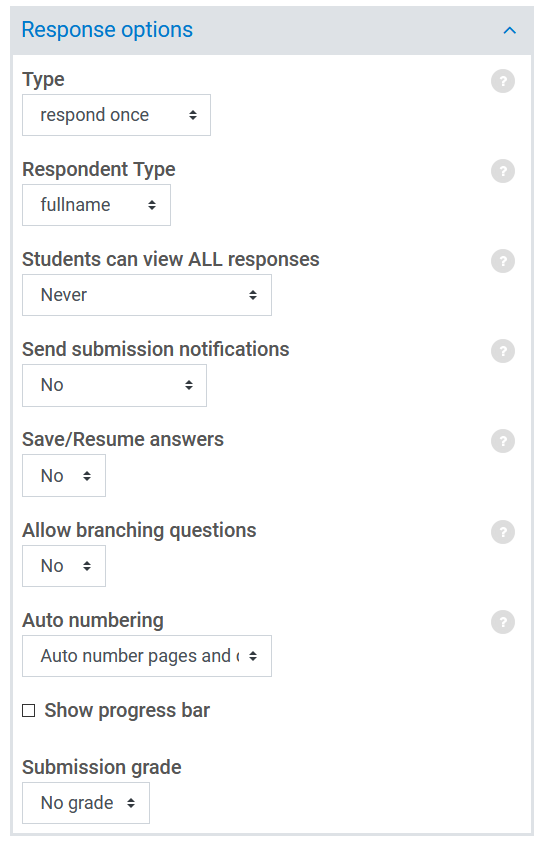
- Type: Set how many times each student can take the survey.
- Respondent Type: Set whether submitters’ names will be recorded or anonymous.
- Students can view ALL responses: Set when students will be able to see the summary results.
- Send submission notifications: If turned on, you will be notified when students submit.
- Save/Resume answers: Allows students to save their answers, leave, and then return before submitting. Once responses are submitted they cannot be edited.
- Allow branching questions: Allows you to create a survey where what questions students see depends on what they answered to previous questions.
- Auto numbering: Set whether questions are automatically numbered.
- Show progress bar: If enabled, displays a progress bar for students to indicate how much of the survey they have completed.
- Submission grade: Allows points to be given for submission. When a student submits the survey, they get the full points, no matter what they answered. This must be set before students begin taking the survey.
Click the Save and display button to add questions.
Questions
If you have not yet added any questions, you will see an Add Questions button. Click to be taken to the Questions tab.

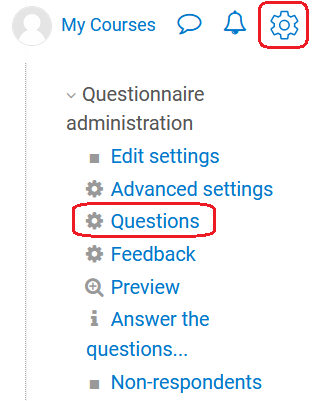
If you have already added questions, you will not see that button. Instead click the gear icon in the upper right to open the Questionnaire Admin and then click on Questions.
Add Questions
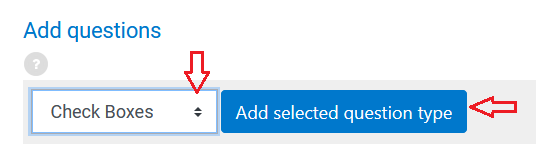
Under the Add Questions heading select the desired question type from the drop down menu. Then click the "Add selected question type" button.
Question Types
- Page Break
Use to insert a page break within a survey.
If a page contains questions that require a response the student will not be able to go to the next page unless they have answered the question(s).
If your survey uses branching, then page breaks will be automatically inserted when you add “parent” or “child” questions. These page breaks cannot be moved or deleted.
- Check Boxes
Allows a student to select multiple answers from a list of options.
- Add the question name, if desired.
- Choose if a response is required or not.
- Set the minimum number of options that must be selected.
- Set the maximum number of options that can be selected.
- Enter the question in the Question Text box.
- Type the answer choices in the Possible Answers box. List one answer choice per line. You may enter “!other” (minus the quotation marks) on a line to create an optional fill in the blank option. An !other line displays as “Other:[blank]”.You may change this display by using the format: “!other=prompt text” (minus the quotation marks).
- When finished click Save changes.
- Date
Allows a student to enter a date.
- Add the question name, if desired.
- Choose if a response is required or not.
- Enter the question in the Question Text box.
- When finished, click Save changes.
- Dropdown Box
Allows a student to select an option from a dropdown list. The only difference between this question type and Radio Buttons is how the answer options are displayed.
- Add the question name, if desired.
- Choose if a response is required or not.
- Enter the question in the Question Text box.
- Type the answer choices in the Possible answers box. List one answer choice per line.
- When finished, click Save changes.
- Essay Box
Allows a student to enter text (longer than a word or phrase).
- Add the question name, if desired.
- Choose if a response is required or not.
- For Response Format choose whether you want the text editor toolbar to be available in the response box (HTML editor) or not (plain text).
- For the Input box size choose how many lines you want available for the response box.
- Enter the question in the Question Text box.
- When finished, click Save changes.
- Label
This is not a question, but allows you to enter text to be displayed to users. This can be used to introduce a series of questions, provide instructions, etc.
- Numeric
Allows a student to enter a number. An average of the responses is calculated and displayed in the summary of responses.
- Add the question name, if desired.
- Choose if a response is required or not.
- Enter the maximum digits allowed. This is the number of characters that can be entered. Keep in mind the decimal point counts as a character.
- Enter the Number of decimal digits to specify the format of the Average value counted and displayed in the responses/results.
- Enter the question in the Question Text box.
- When finished, click Save changes.
- Radio Buttons
Allows a student to select one option from a list.
- Add the question name, if desired.
- Choose if a response is required or not.
- Choose if you want the options to be listed vertically or horizontally.
- Enter the question in the Question Text box.
- Type the answer choices in the Possible answers box. List one answer choice per line. You may enter “!other” (minus the quotation marks) on a line to create an optional fill in the blank option. An !other line displays as “Other:[blank]”.You may change this display by using the format: “!other=prompt text” (minus the quotation marks).
- When finished, click Save changes.
- Rate (Scale 1..5)
Allows a student to rate or rank items. Since there are so many options, it might be useful to see some examples. This Moodle guide not only provides explanations for the settings, but examples so that you can see just what is possible with this question type.
- Add the question name, if desired.
- Choose if a response is required or not.
- Select the Number of scale items (levels). By default it is 5.
- Choose the type of rate scale:
- Normal: just displays the number of levels set above.
- N/A Columns: provides an extra level labeled N/A.
- No duplicate choices: Prevents duplicate choices in each degree column. This is useful if you want the student to rank a number of items and to force each rank to be unique.
- Osgood: Choose this to create a question of the Osgood's semantic differential type.
- Enter the question in the Question Text box.
- Type the items to be rated in the Possible answers box. List one per line.
- By default the levels are labeled numerically. For example, the if the number of scale items is 5 then then levels will display as 1, 2, 3, 4, 5. If desired you can choose to display words instead. Enter those names here. On each line enter the degree number, immediately followed by the equal sign = immediately followed by the name you want to give to that degree (no spaces).
- When finished, click Save changes.
- Text Box
Allows a student to enter a small amount of text (word or short phrase).
- Add the question name, if desired.
- Choose if a response is required or not.
- Set the input box length (20 characters is default).
- Set the maximum text length (25 characters is the default).
- Enter the question in the Question Text box.
- When finished, click Save changes.
- Yes/No
Allows a student to answer Yes or No.
- Add the question name, if desired.
- Choose if a response is required or not.
- Enter the question in the Question Text box.
- When finished, click Save changes.
Manage Questions
Move
- The questions will appear under the Manage Questions heading in the order they were added.
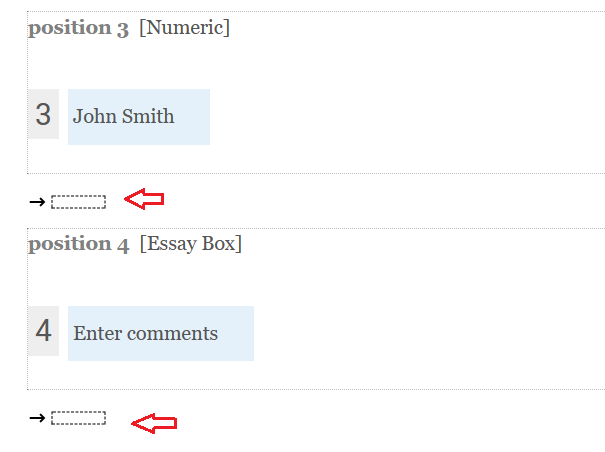
- To move a question, click the arrows icon to the right of the position number.
![]()
- Then, select the white box that represents where you would like to move the question.
Edit/Duplicate
- To edit or duplicate a question, click the gear icon to the right of the position number
![]()
- Make changes as needed.
- If you want to save the changes to the current question, click the Save changes button. If you wish to keep the original question and save the changes as a brand new question, click the Save as New Question button.
Delete
- To delete a question, click the x icon to the right of the position number.
![]()
- Confirm you wish to delete the question by clicking Yes.
Response Required
- A red dot to the right of the position number means a student is required to answer the question. A green dot means a student is not required to answer the question.
![]()
- To change the requirement, click on the dot.
Preview
Click the Preview tab to view the survey as a student would.
View All Responses
Click the View All Responses tab to view a summary of each question or each individual response to the survey.
Non-respondents
If your Questionnaire is not anonymous: click the Non-respondents tab to view a list of students who have not submitted the survey. You can send a reminder message to them from this page.
- Select the box to the right of each student you wish to message, or scroll to the bottom of the list and click the Select all button.
- Type the subject of the message in the Subject box.
- Type the message in the Message body box.
- Click the Send button.
If your Questionnaire is anonymous you will not see a list of students, but you can still send a message to all who have not yet submitted.
- Type the subject of the messae in the Subject box.
- Type the message in the Message body box.
- Click the Send button.
Feedback
Feedback options are only available in certain scenarios.
Advanced settings
Click on this tab to set some advanced features such as additional info and/or confirmation message.
- Add any instructions in the Additional Info box. Text added to this box will be displayed at the top of the first page of the survey.
- If desired, add a Confirmation URL to redirect students to a particular page after the questionnaire is submitted OR...
- If desired, enter a message in the Body text box to display to students after they submit. Note: The default message "Thank you for completing this Questionnaire" will be displayed if nothing is added.
- If you made any changes to this page, be sure to Save.